
In this home lab, we will be using Ubiquiti ER-X as the routing device for the cloud infrastructure. This is a low cost router with advanced routing capabilities and is able to do inter-VLAN routing. This is a 5-port router with port starting from eth0 to eth4. The default settings for this router is as per below.
- Default Management Port: eth0
- Default Management IP: 192.168.1.1/24
In this blog post, I will share on the basic configuration for the router when its brand new out of the box. These configuration includes
- Connection to the router management port
- Changing default internet interface
- Removing the single LAN option
- Changing default password
Let’s gather what is required for this lab
- Management Laptop
- Ubiquiti ER-X Router
- LAN Cable
Step 1: Connect the RJ45 port of the management laptop to ER-X eth0
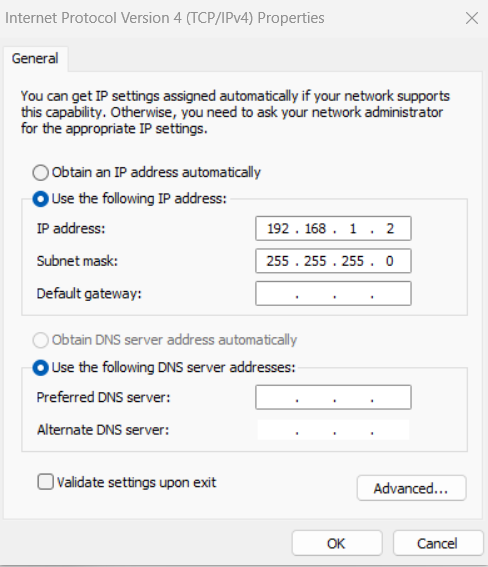
Step 2: Configure the management laptop network IP to be 192.168.1.2 with subnet mask 255.255.255.0
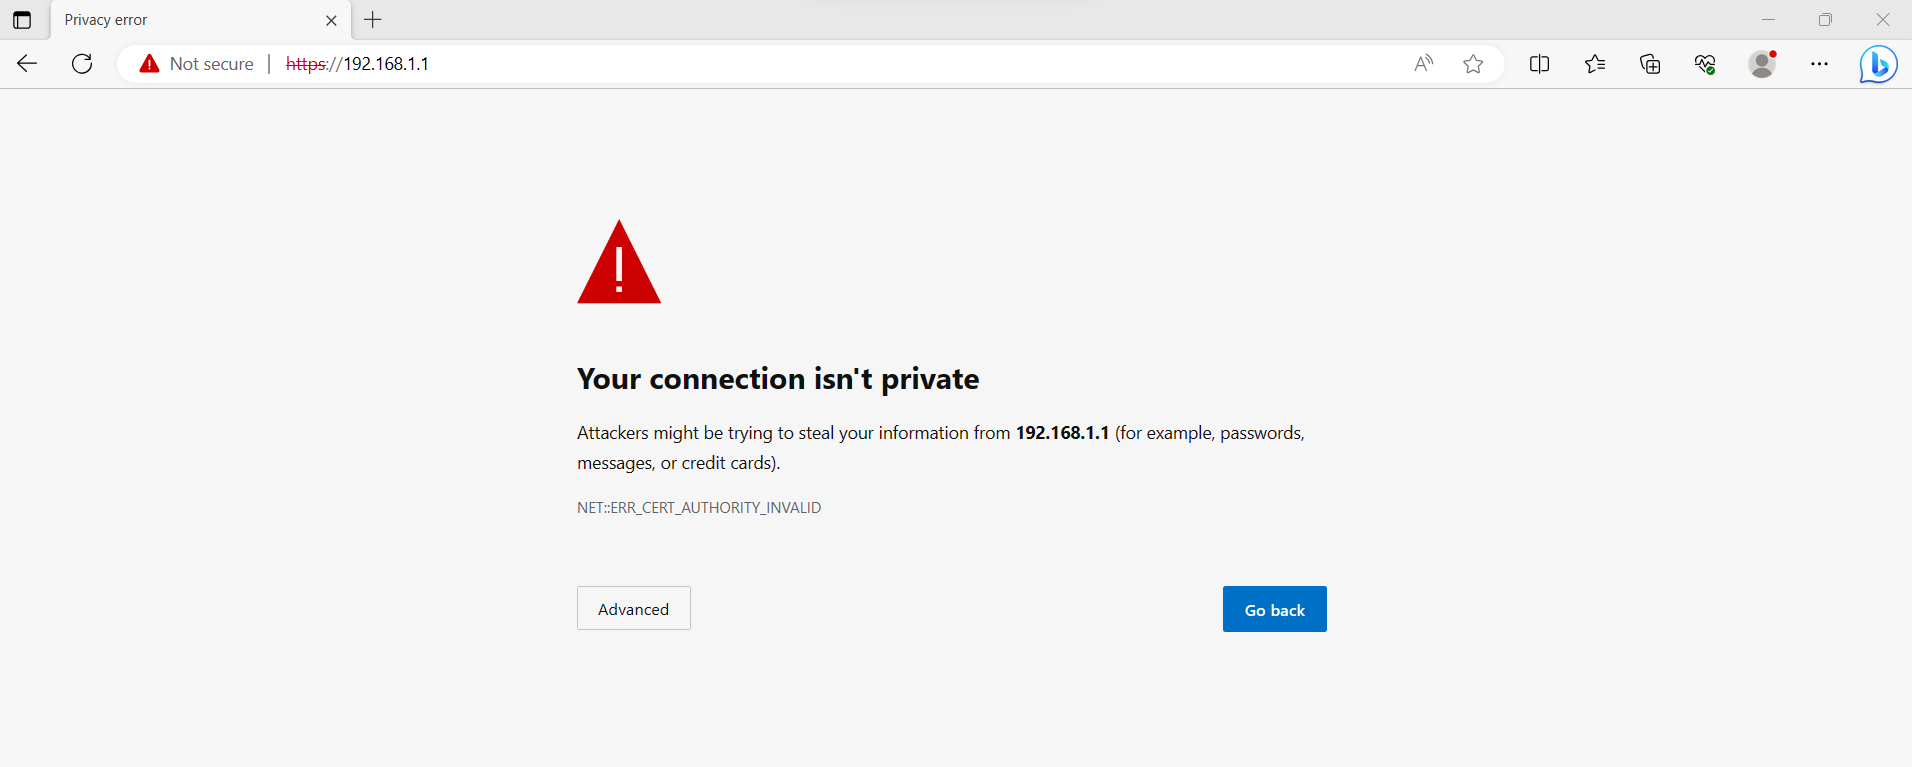
Step 3: Launch the management laptop web browser and key in this URL into the address bar. “https://192.168.1.1” and you should see the screenshot below.
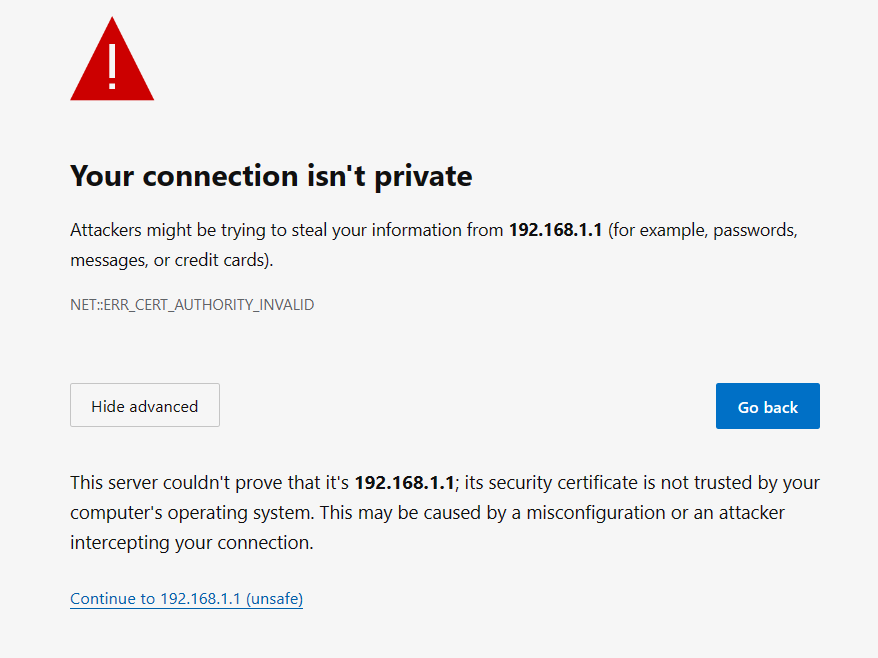
Step 4: Select “Advanced” and click on “Continue to 192.168.1.1 (unsafe)”
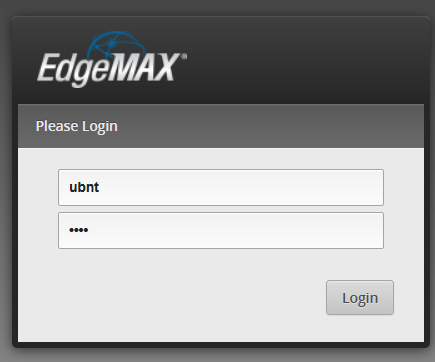
Step 5: You will see the default login screen. Enter the default login information as follows and click the “Login” button
- Username: ubnt
- Password: ubnt
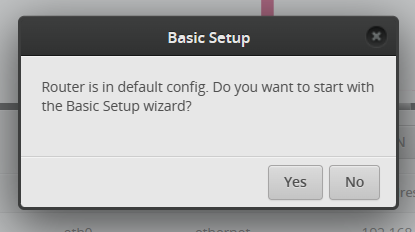
Step 6: You will see a prompt that ask if you want to run the “Basic setup wizard”. Select the option “Yes”
Step 7: You will be presented with the following configuration screen as the default setting
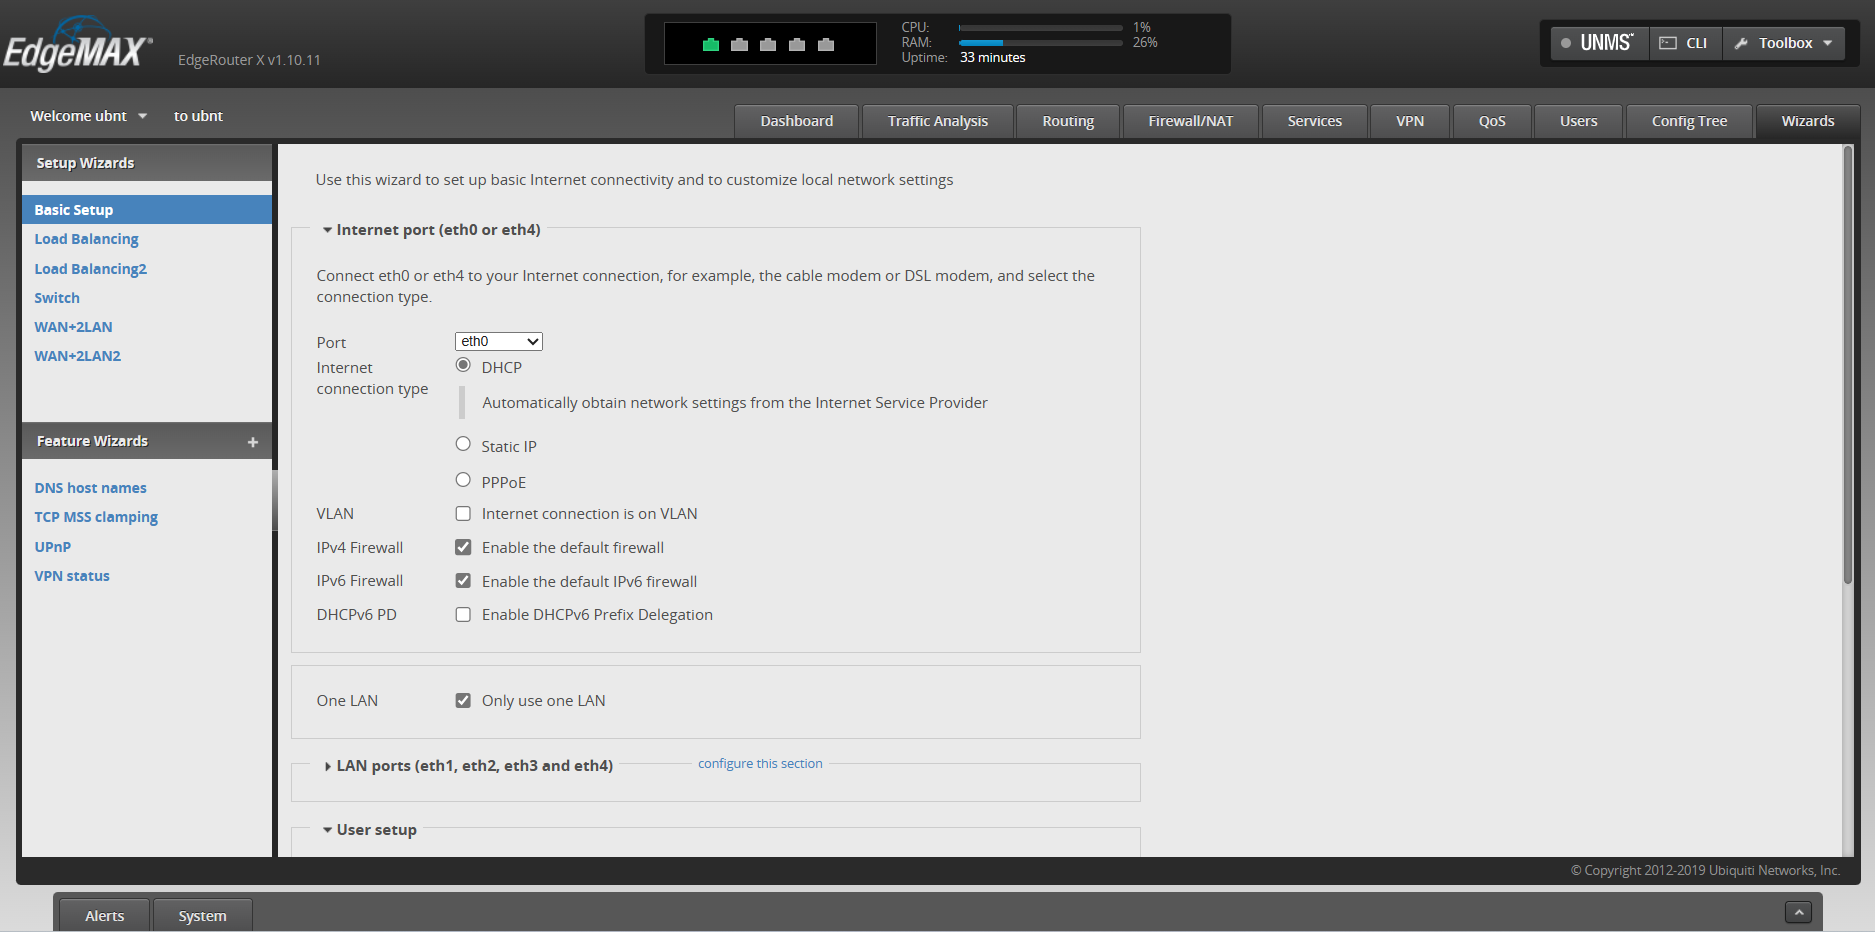
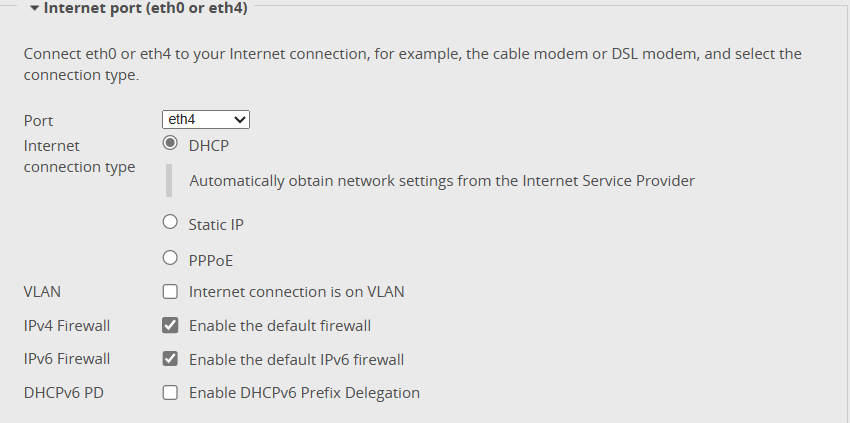
Step 8: Let’s choose eth4 to be our “Internet” port. We can leave the rest of the setting in “Internet port (eth0 or eth4)” setting as their default
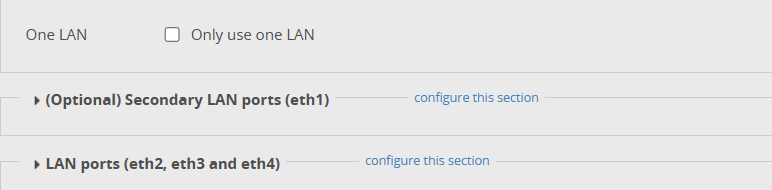
Step 9: De-select the “Only use one LAN” option
Step 10: Let’s key in a new password for the user “ubnt” and select the “Apply” button

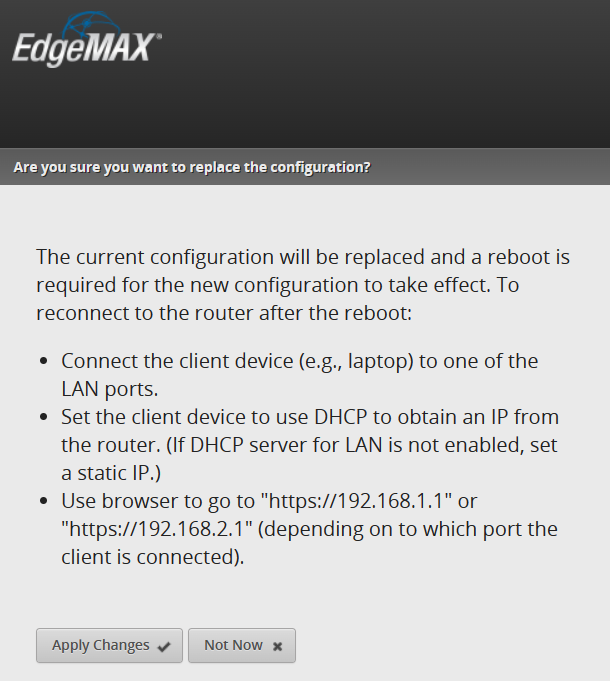
Step 11: You will see a confirmation screen on the settings to be change. Click “Apply Changes”
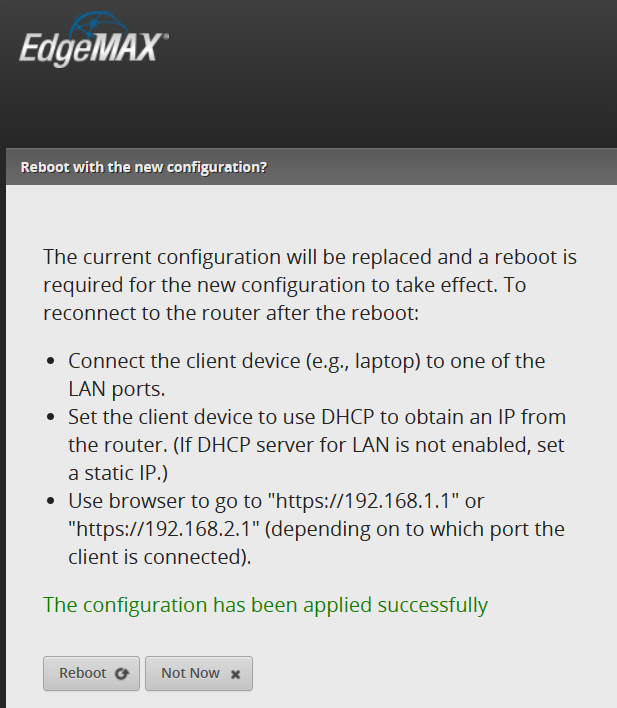
Step 12: You will see the following message once your settings are applied successfully. Select the “Reboot” option.
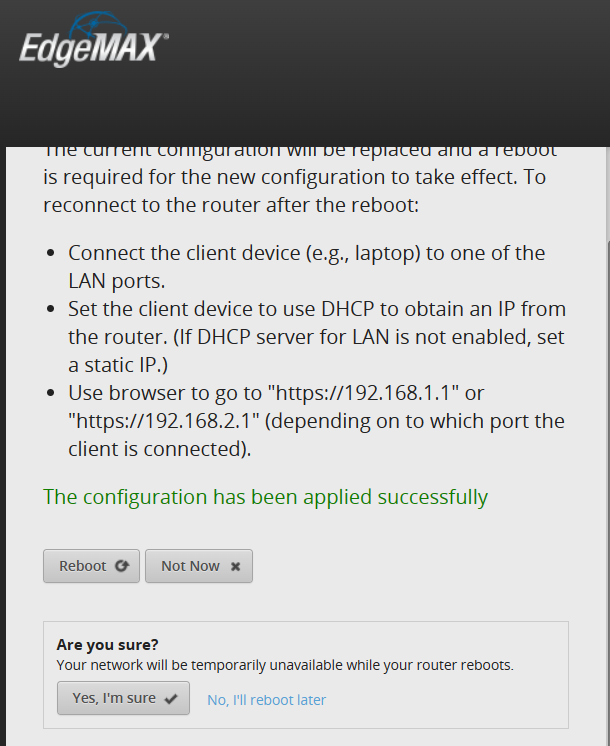
Step 13: You will see a confirmation screen for the reboot. Select “Yes, I’m sure”
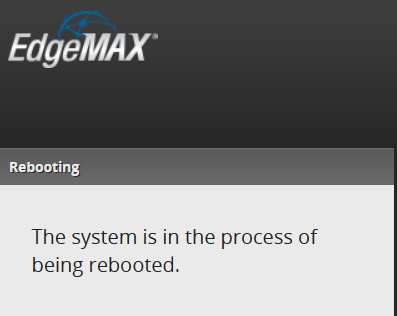
Step 14: You will see this prompt when the router is rebooting
Step 15: Click “Reload” once the reboot is completed
Step 16: Login with the credentials you set in Step 10

In the next blog post, I will share on the configuration of the interfaces and switch ports

You must be logged in to post a comment.