
In this blog series, I will share on the preparation of Nutanix CE installer. We will need the following binaries for this task
- Nutanix Community Edition (CE) 2.0 ISO
- Rufus
- Custom driver for Intel Ethernet Controller i225-V
- Empty 16GB USB thumb drive
Step 1: Download Nutanix CE 2.0 from Nutanix [ https://next.nutanix.com/discussion-forum-14/download-community-edition-38417 ]
Step 2: Download Rufus, a ISO to USB tool from [ https://rufus.ie/en/ ]
Step 3: Download the custom driver from this blog [ https://smzklab.net/2023/04/nutanix-ce-2-0-how-to-resolve-intel-2-5gbe-nic-issue.html ]
You can also choose to download all the 3 files from my google drive [ https://drive.google.com/file/d/1i-fOejDHQZE7Qqoa7HxptG37VobmO9LI/view?usp=share_link ]
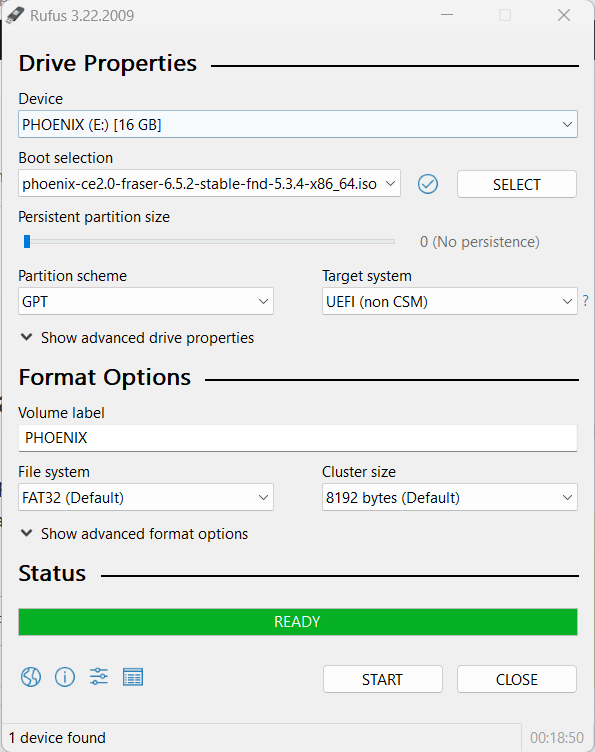
Step 4: Run the Rufus executable
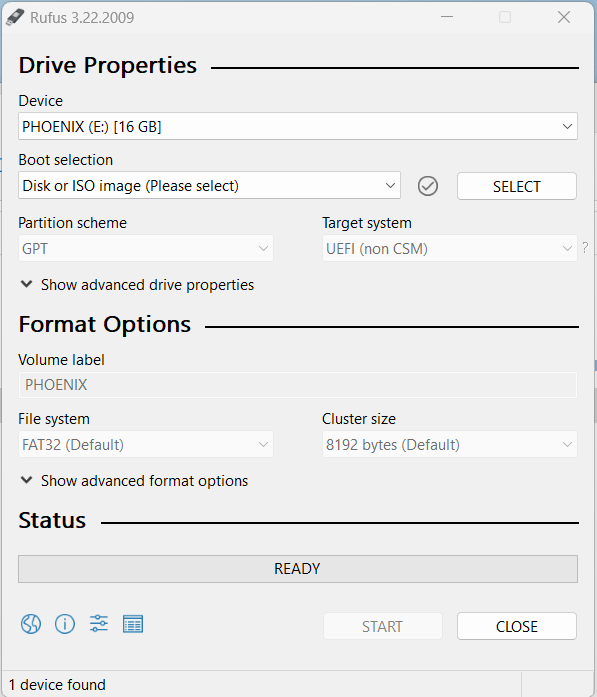
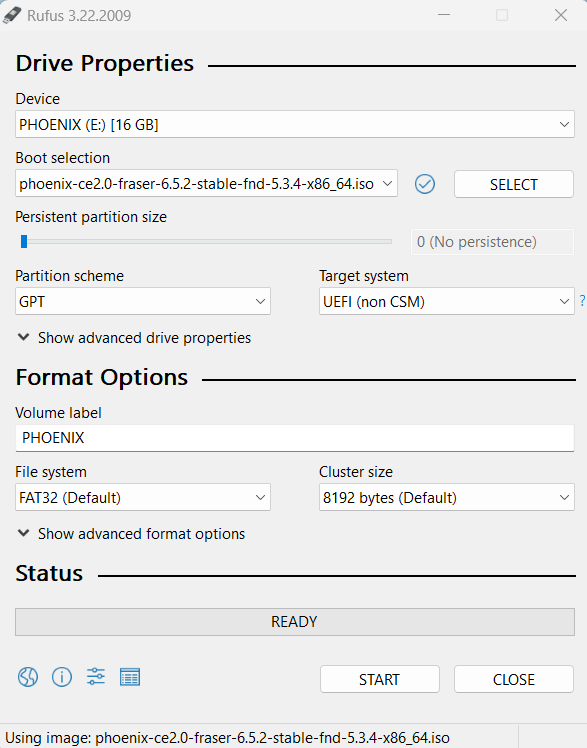
Step 5: Choose the ISO file, the USB drive and click on “Start”
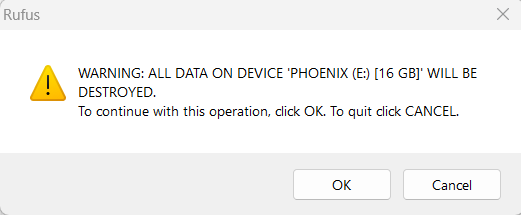
Step 6: Press “OK”
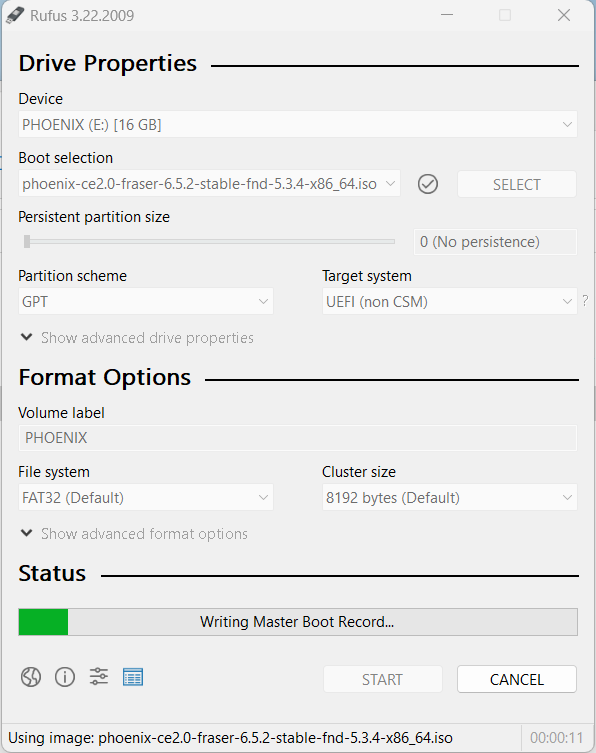
Step 7: Wait for it to complete
Step 8: Press “CLOSE” to exit Rufus after the cloning is completed
Step 9: Copy “igc-patched.ko” file to the root of the USB thumb drive

With all these steps, we are now done with the creation of our Nutanix CE installer. In the next blog series, I will share on preparation steps we need to do for Intel NUC before we can install Nutanix CE.

You must be logged in to post a comment.