
Prism Central is a cluster management tool from Nutanix with many built in capabilities such as multi tenancy, micro segmentation, self service portal and many more.
Nutanix CE 2.0 supports the commercial version of Prism Central and this means we can test many enterprise grade capabilities in Nutanix community edition. You will need the following information for this lab
| Key | Value |
|---|---|
| Subnet Name | PC Network |
| Prism Central Name | PCVM |
| IP Address | 192.168.10.20 |
| Subnet Mask | 255.255.255.0 |
| Gateway | 192.168.10.254 |
| Default Username | Password | admin | Nutanix/4u |
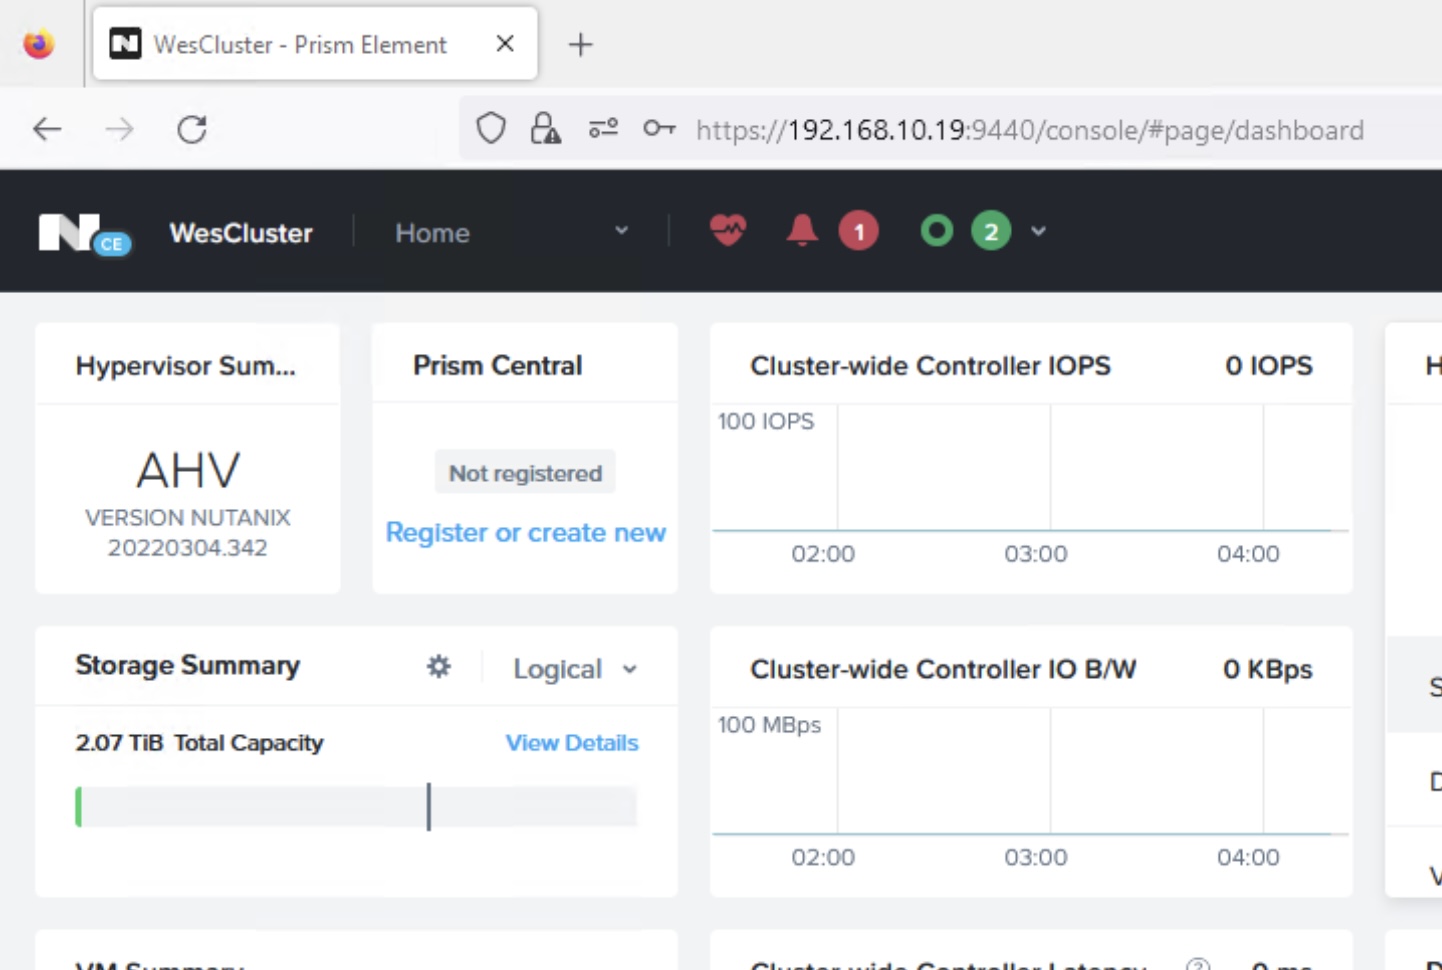
Step 1: Go to the “Prism Central” tile in Prism Element page and click on “Register or create new”
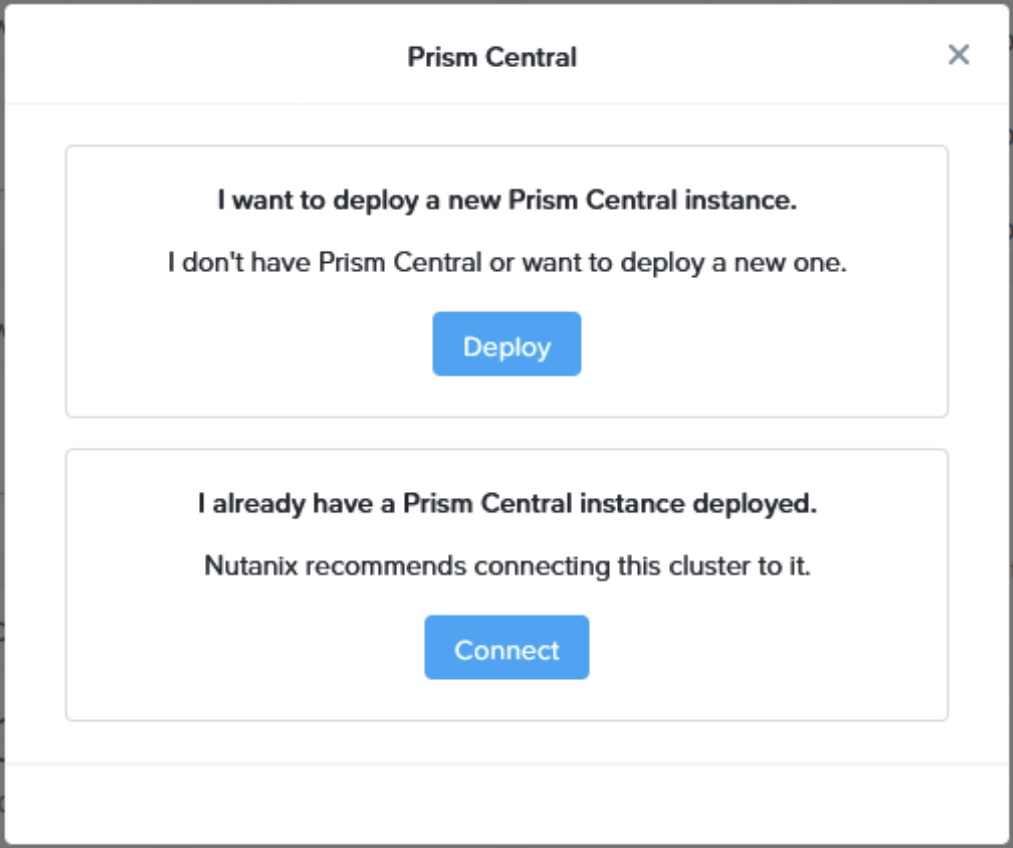
Step 2: Click on “Deploy” on the pop up that says “I want to deploy a new Prism Central instance”
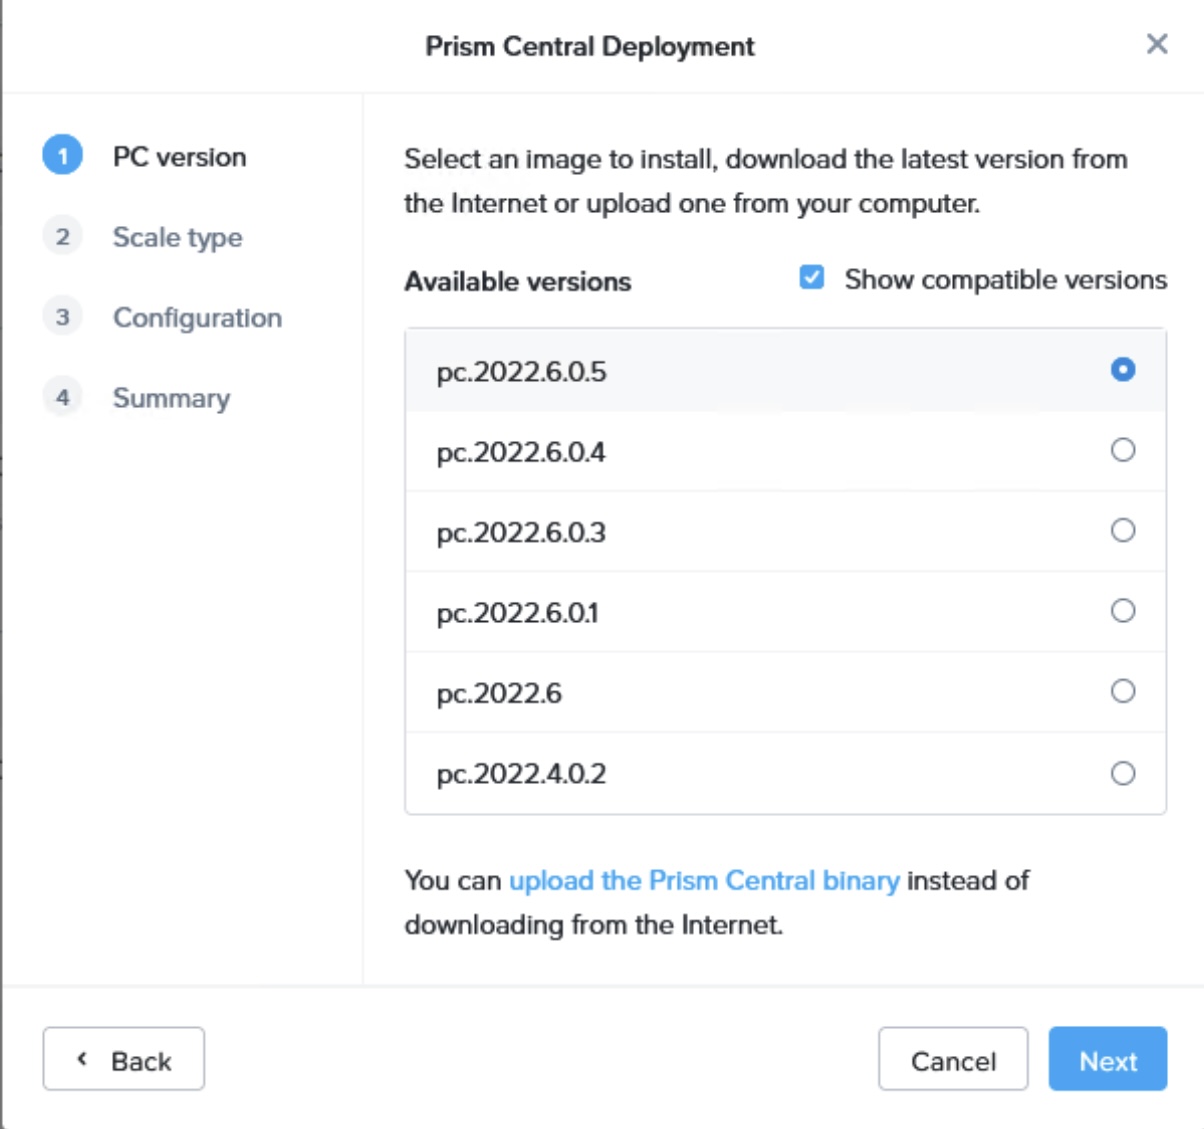
Step 3: Select the latest available PC version and click “Next”
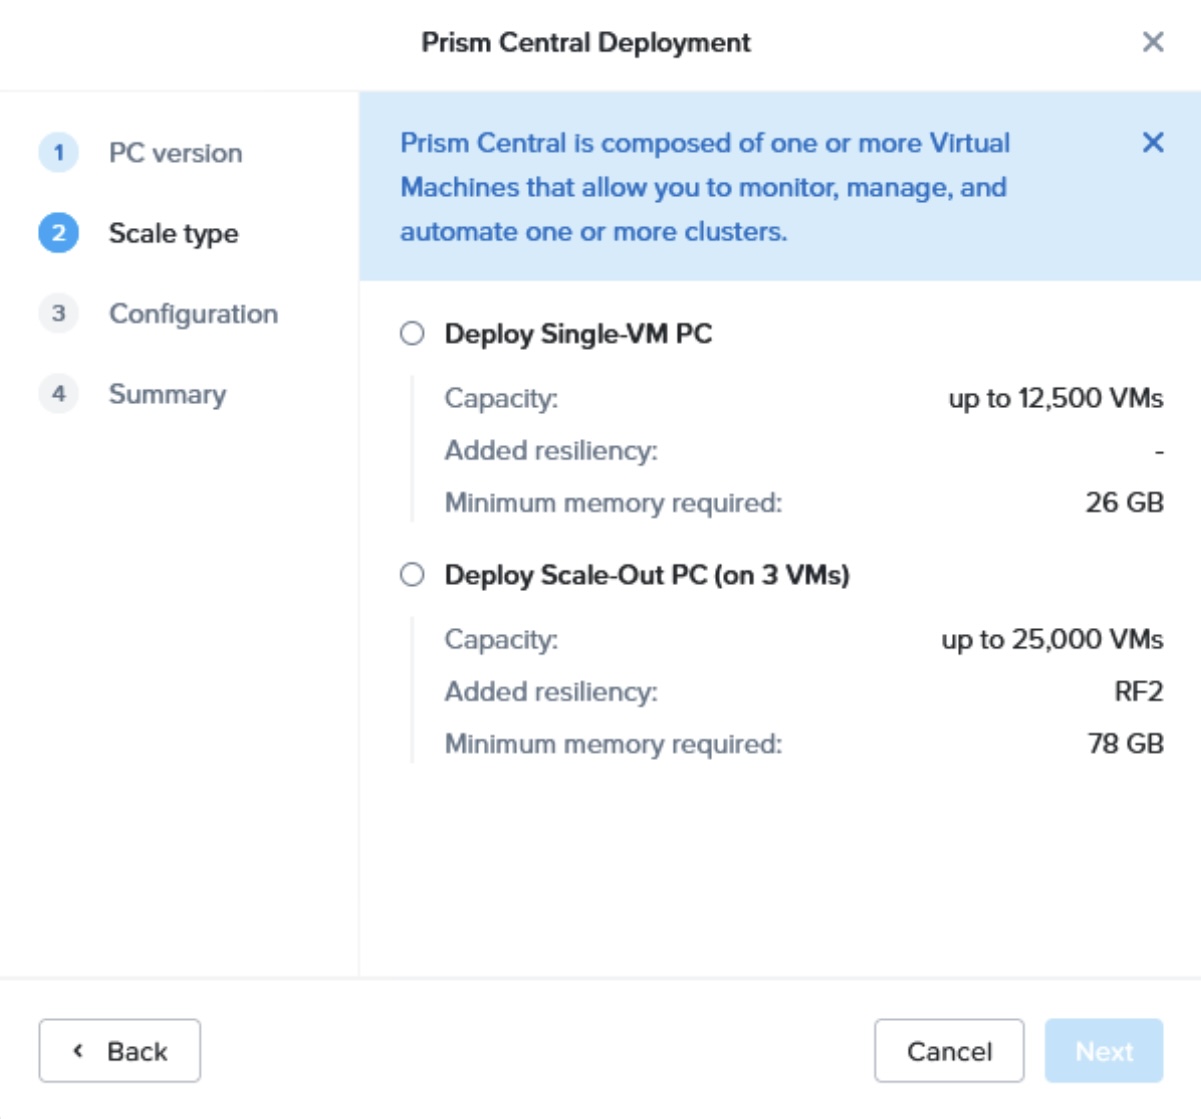
Step 4: Select the option of “Deploy Single-VM PC” and click “Next”
Step 5: Select “Small (6 vCPUs and 26 GB Memory)”
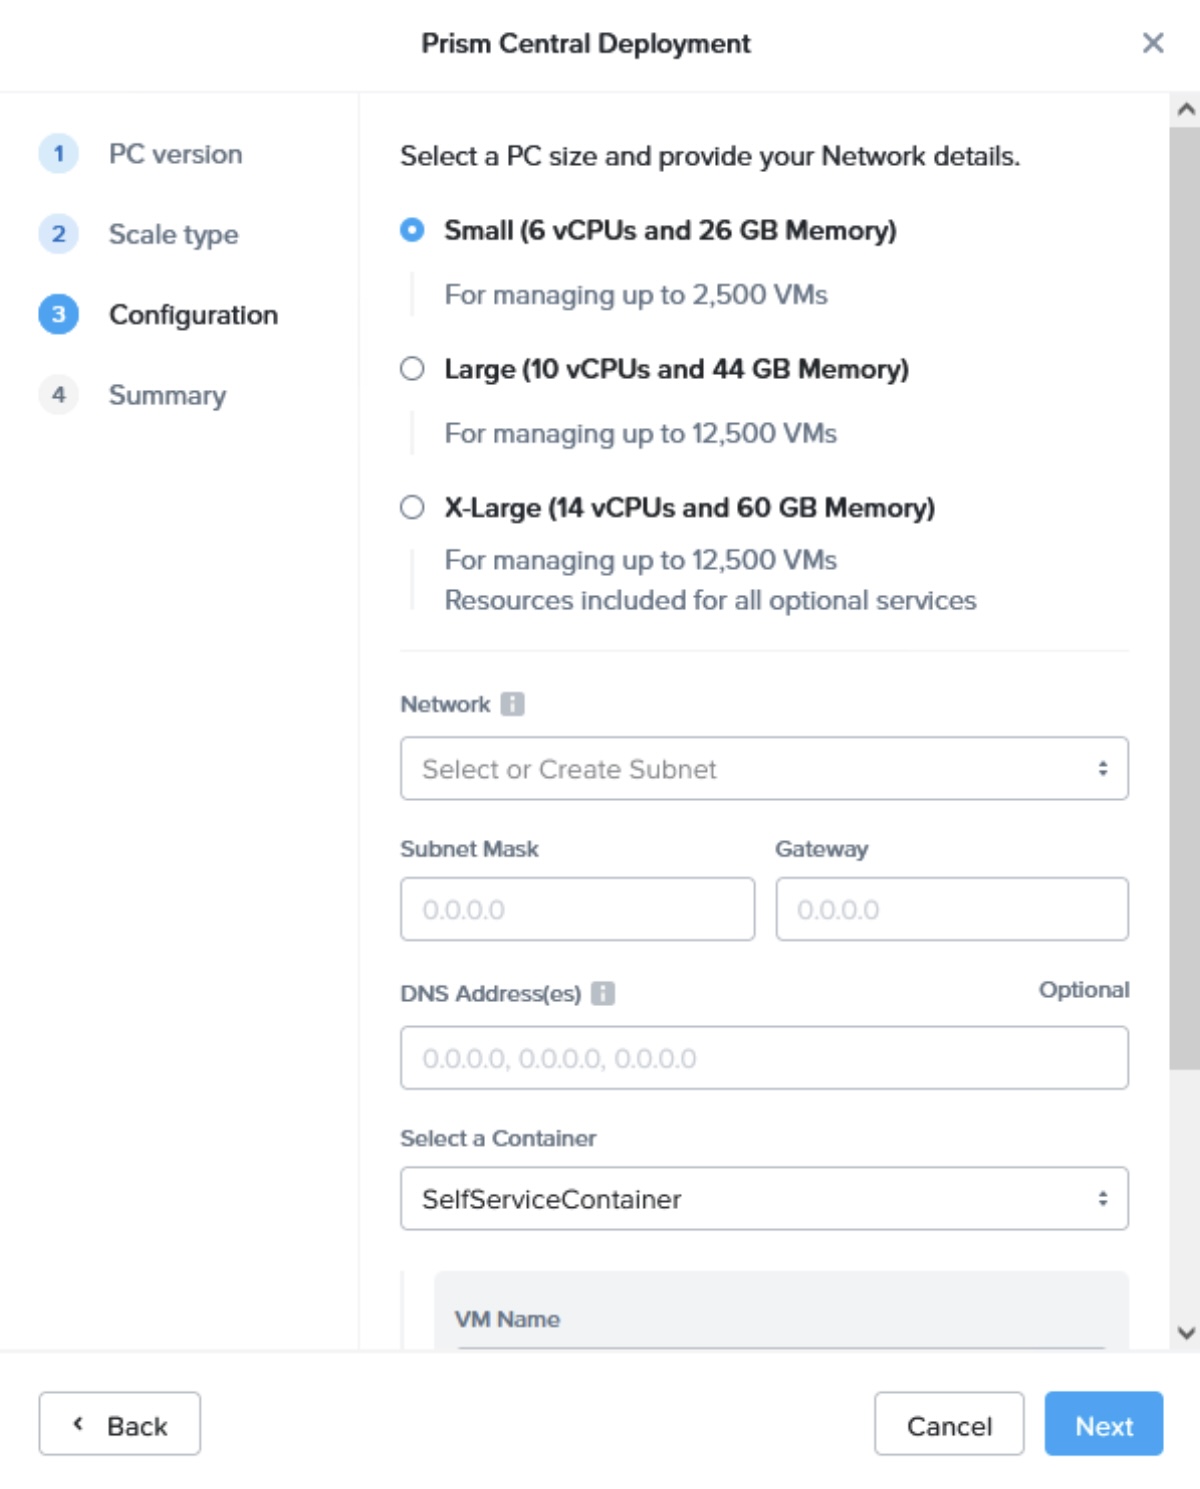
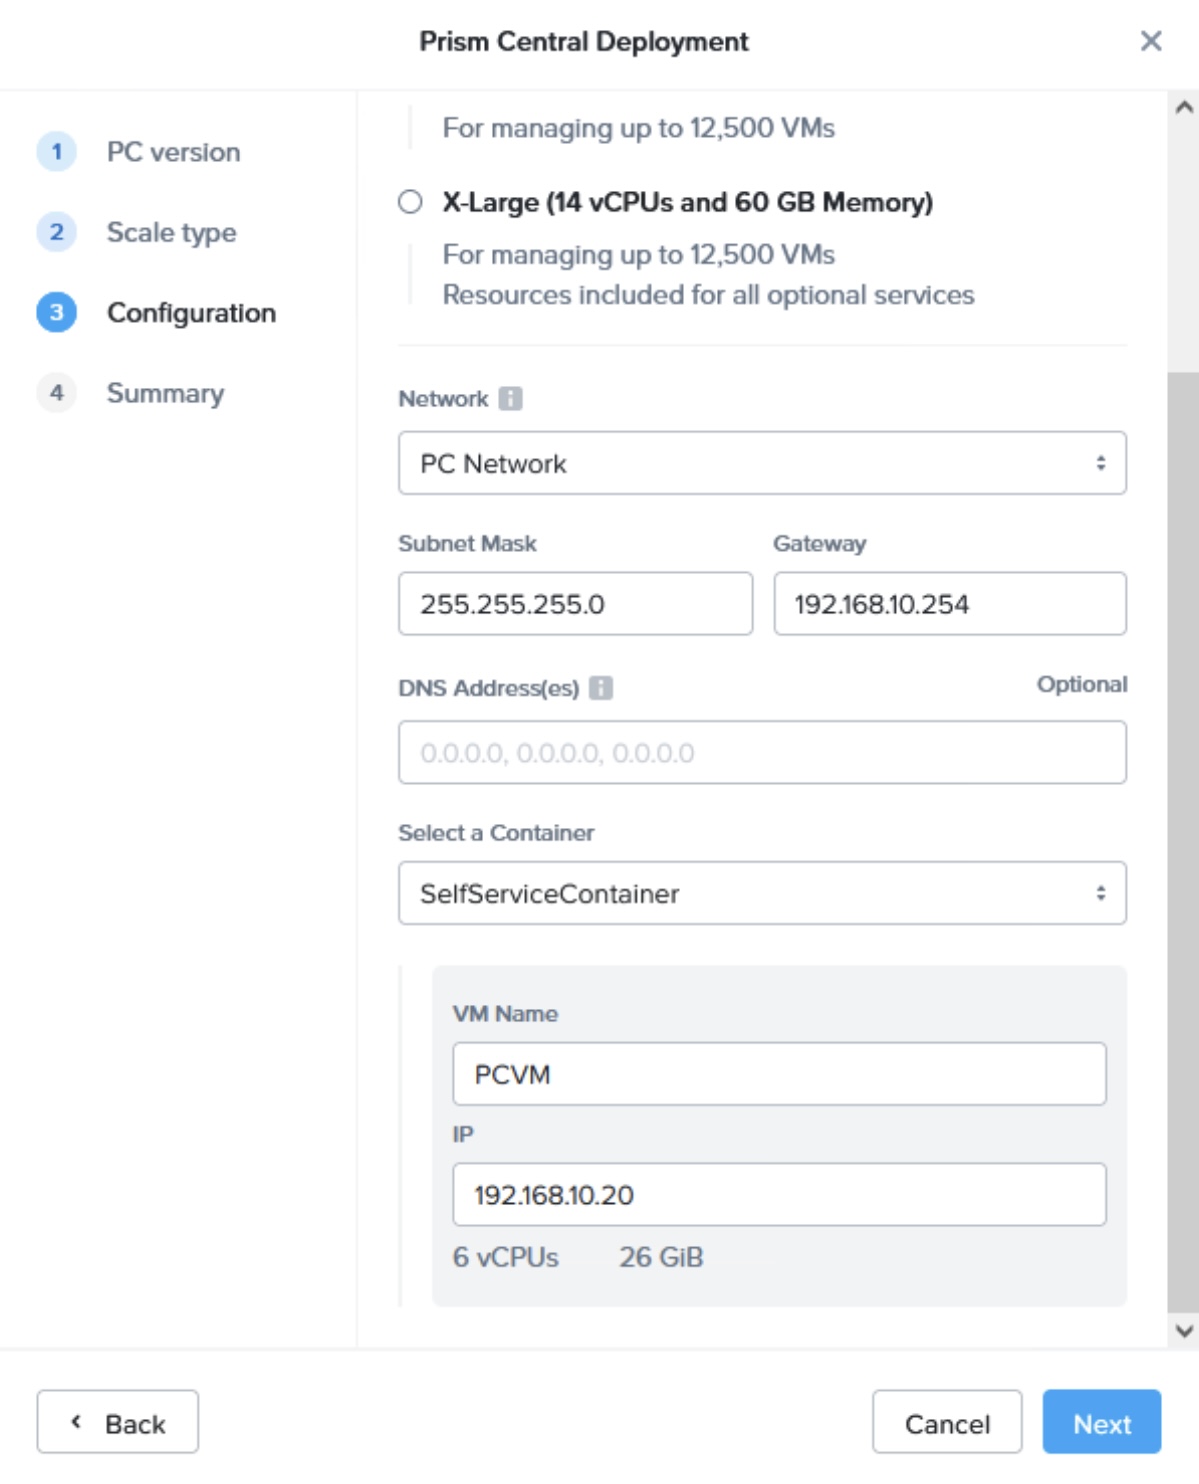
Step 6: Select “PC Network” as the network and enter the network information as per the table above. Then click “Next”
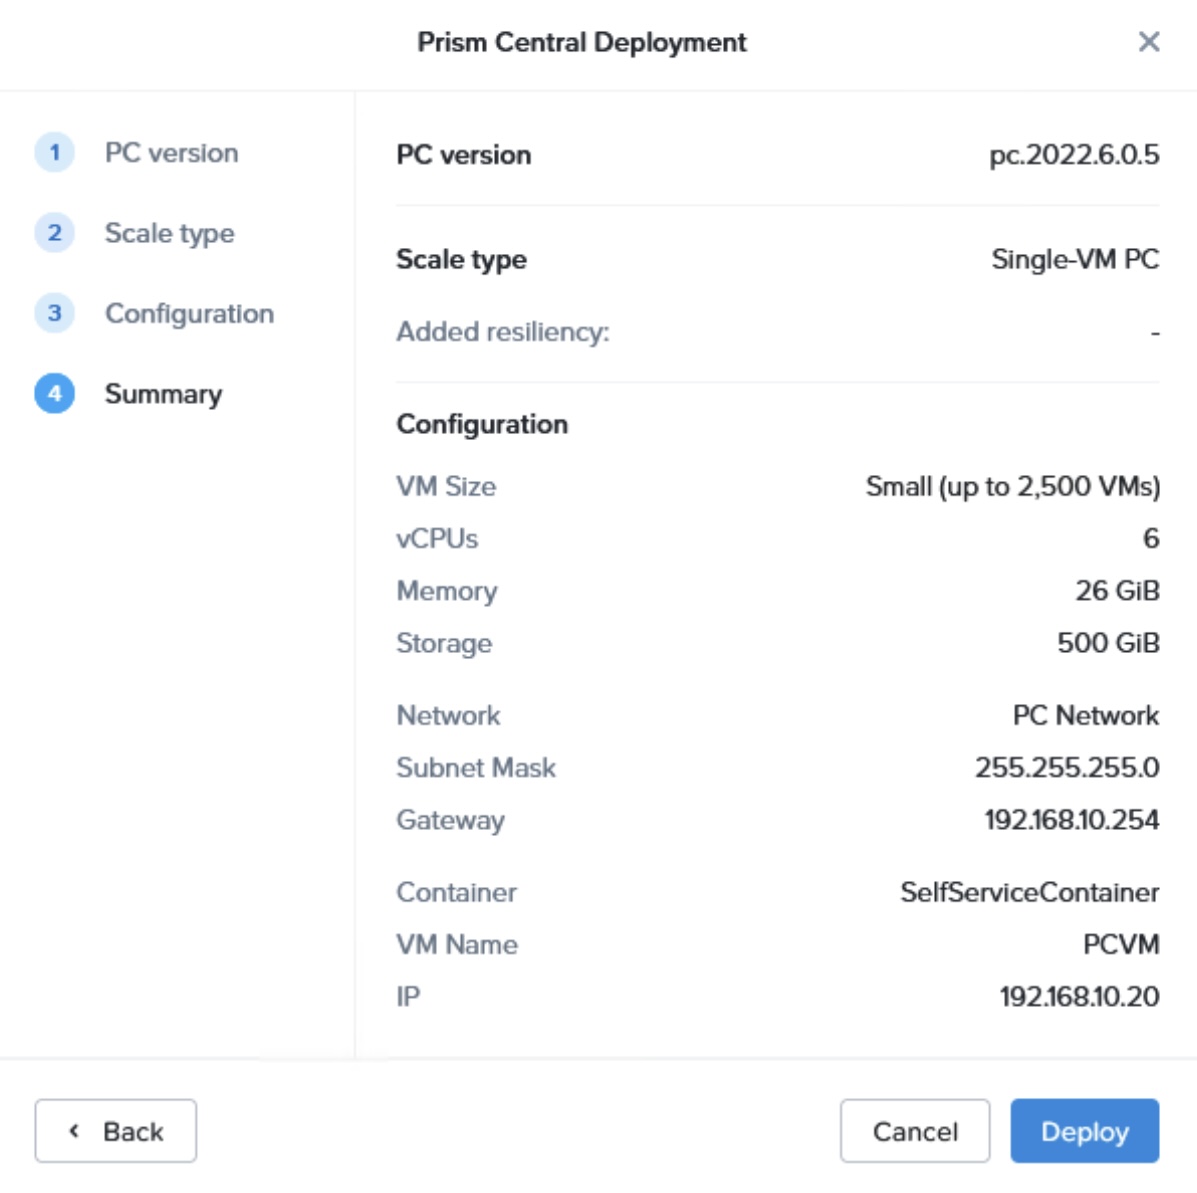
Step 7: Validate the configuration is as per what is stated in the table above and click “Deploy”
Step 8: You will be able to see Nutanix Prism Central is in deploying from Prism Element portal. You can view more by clicking on “View All Tasks”

Step 9: Monitor the “Tasks” and ensure that you see the task “Download and deploy Prism Central” shows “100%” and “Succeeded”. With this, Prism Central is deployed.

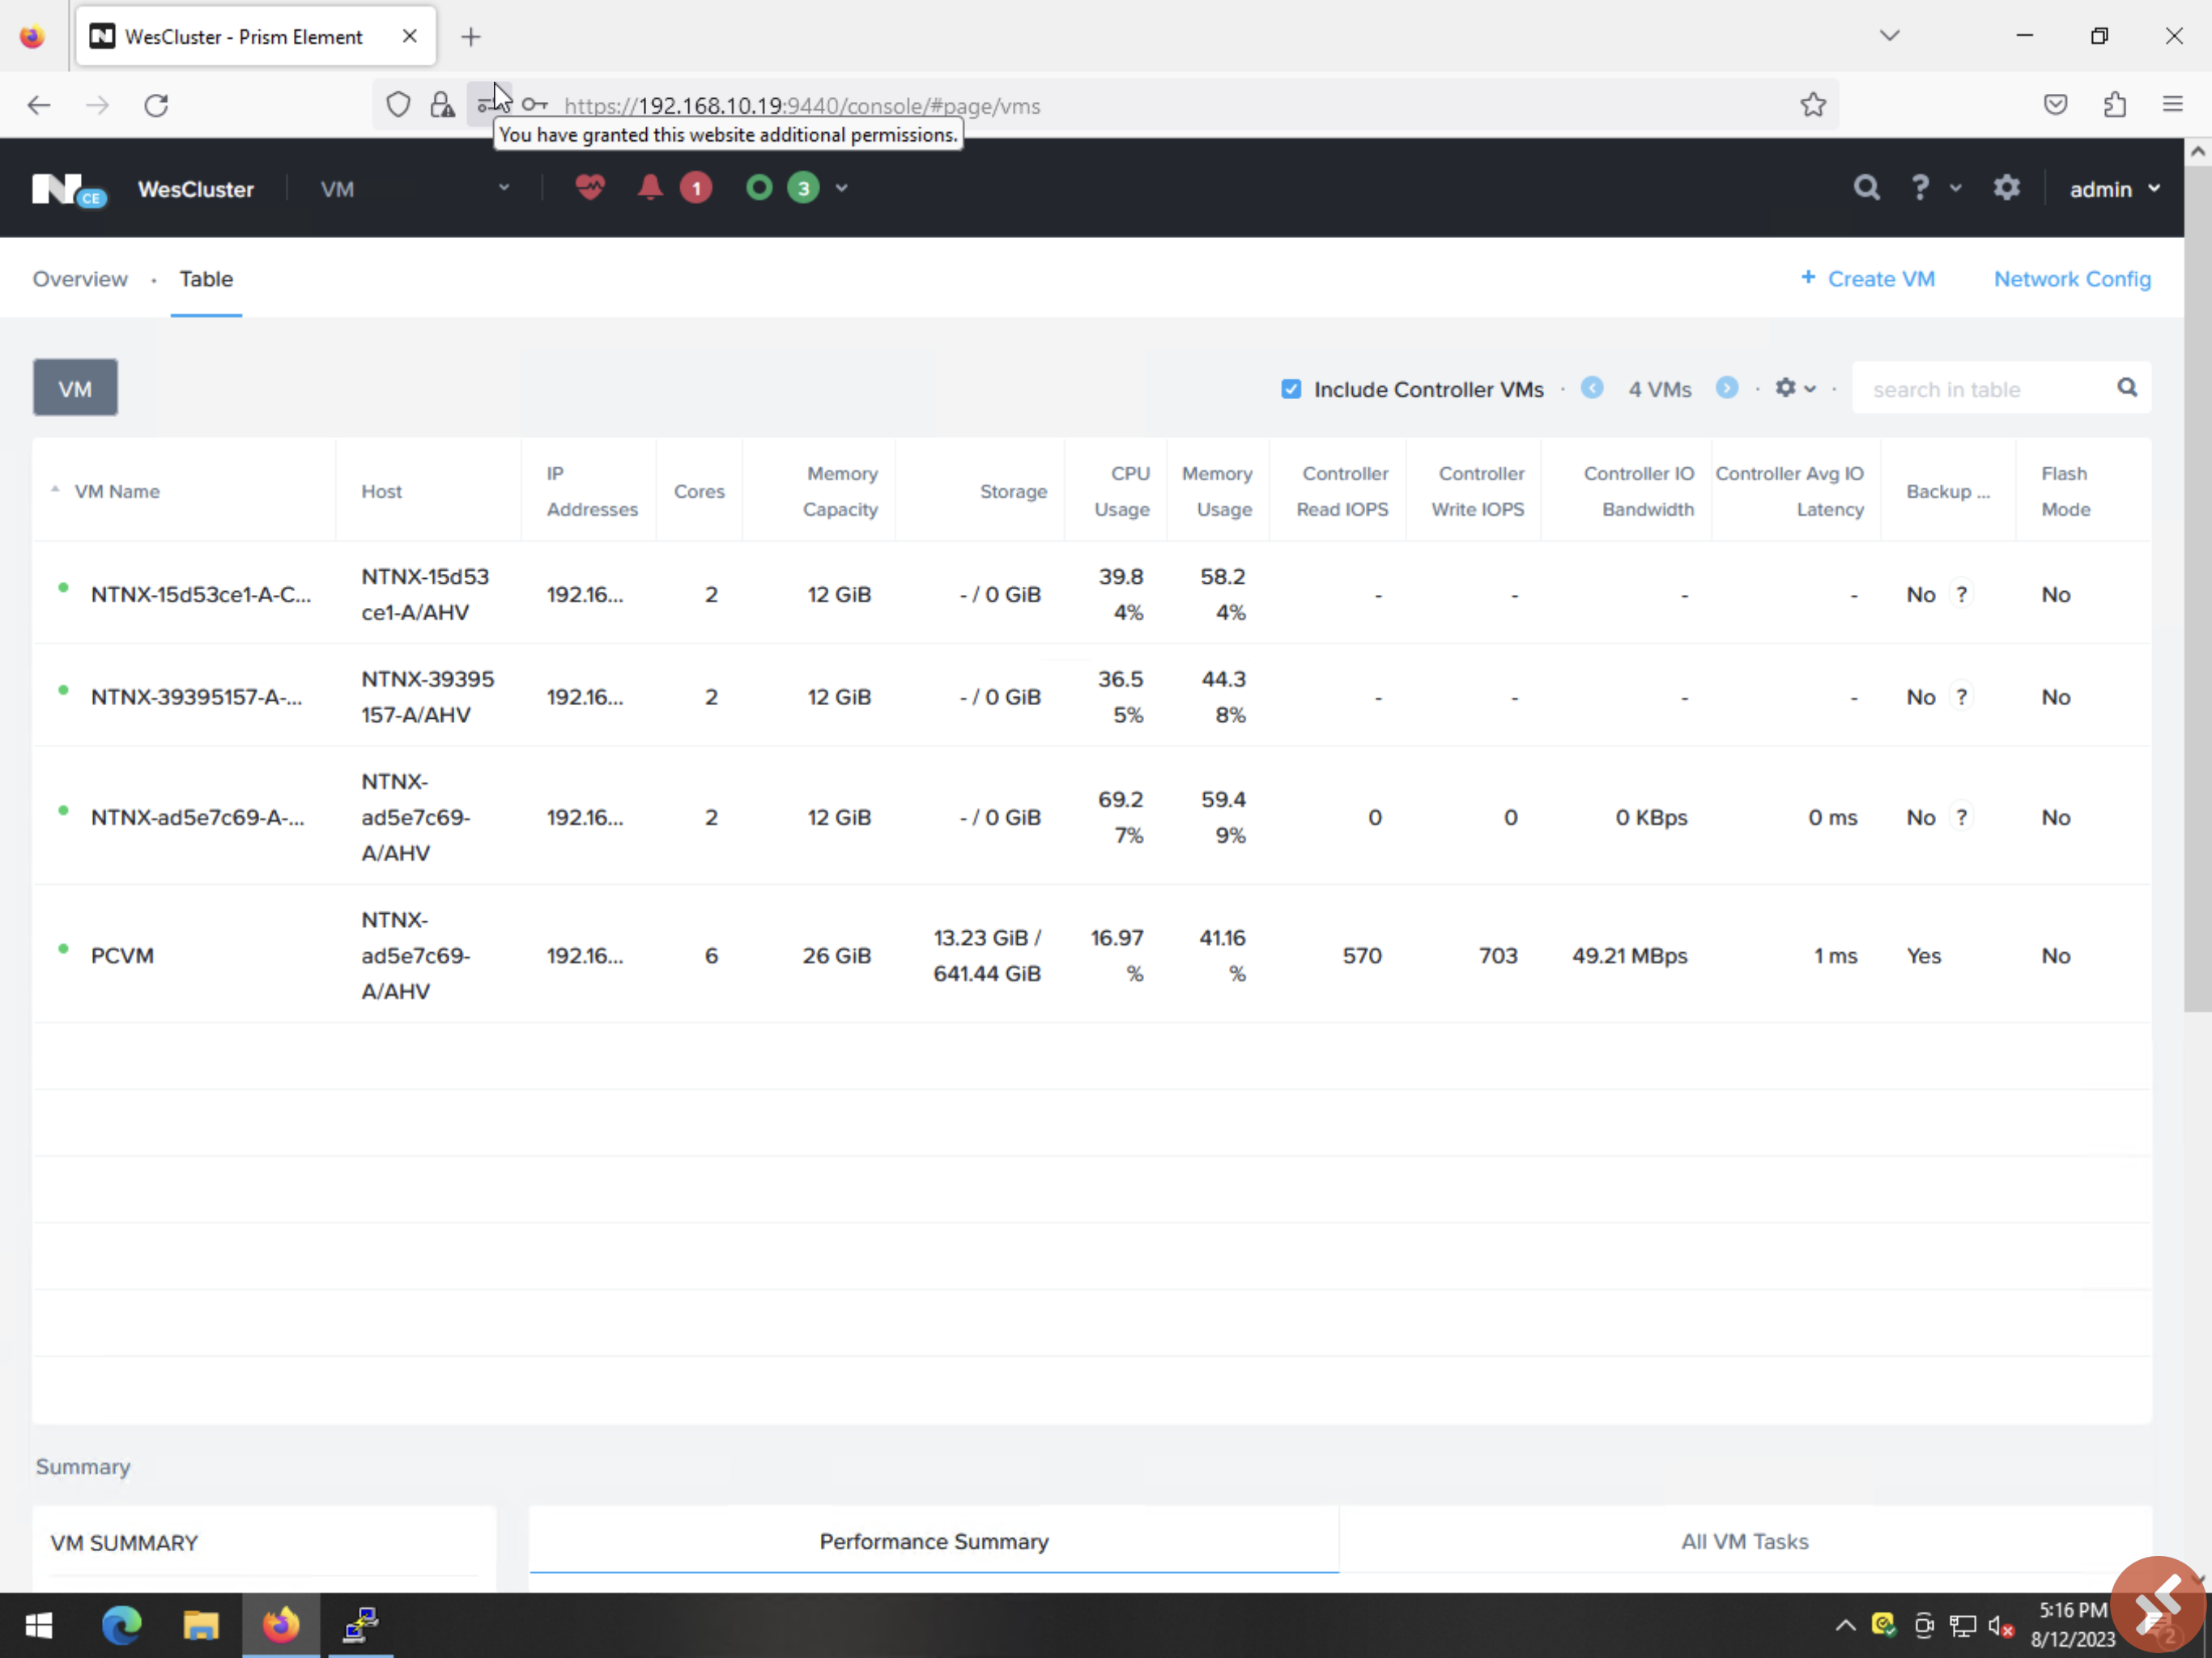
Step 10: Go to the VM tab, you should be able to see “PCVM” is deployed and powered on
In the next blog post, I will share on preparation of Prism Central and configuring the Prism Element to be managed by this new Prism Central.

You must be logged in to post a comment.