
Prism Central is now deployed. The next step is to connect Prism Element to Prism Central so it can be managed and we can deploy a lot more capabilities.
We will need to initialise the Prism Central by resetting the default password and registering the Prism Central.
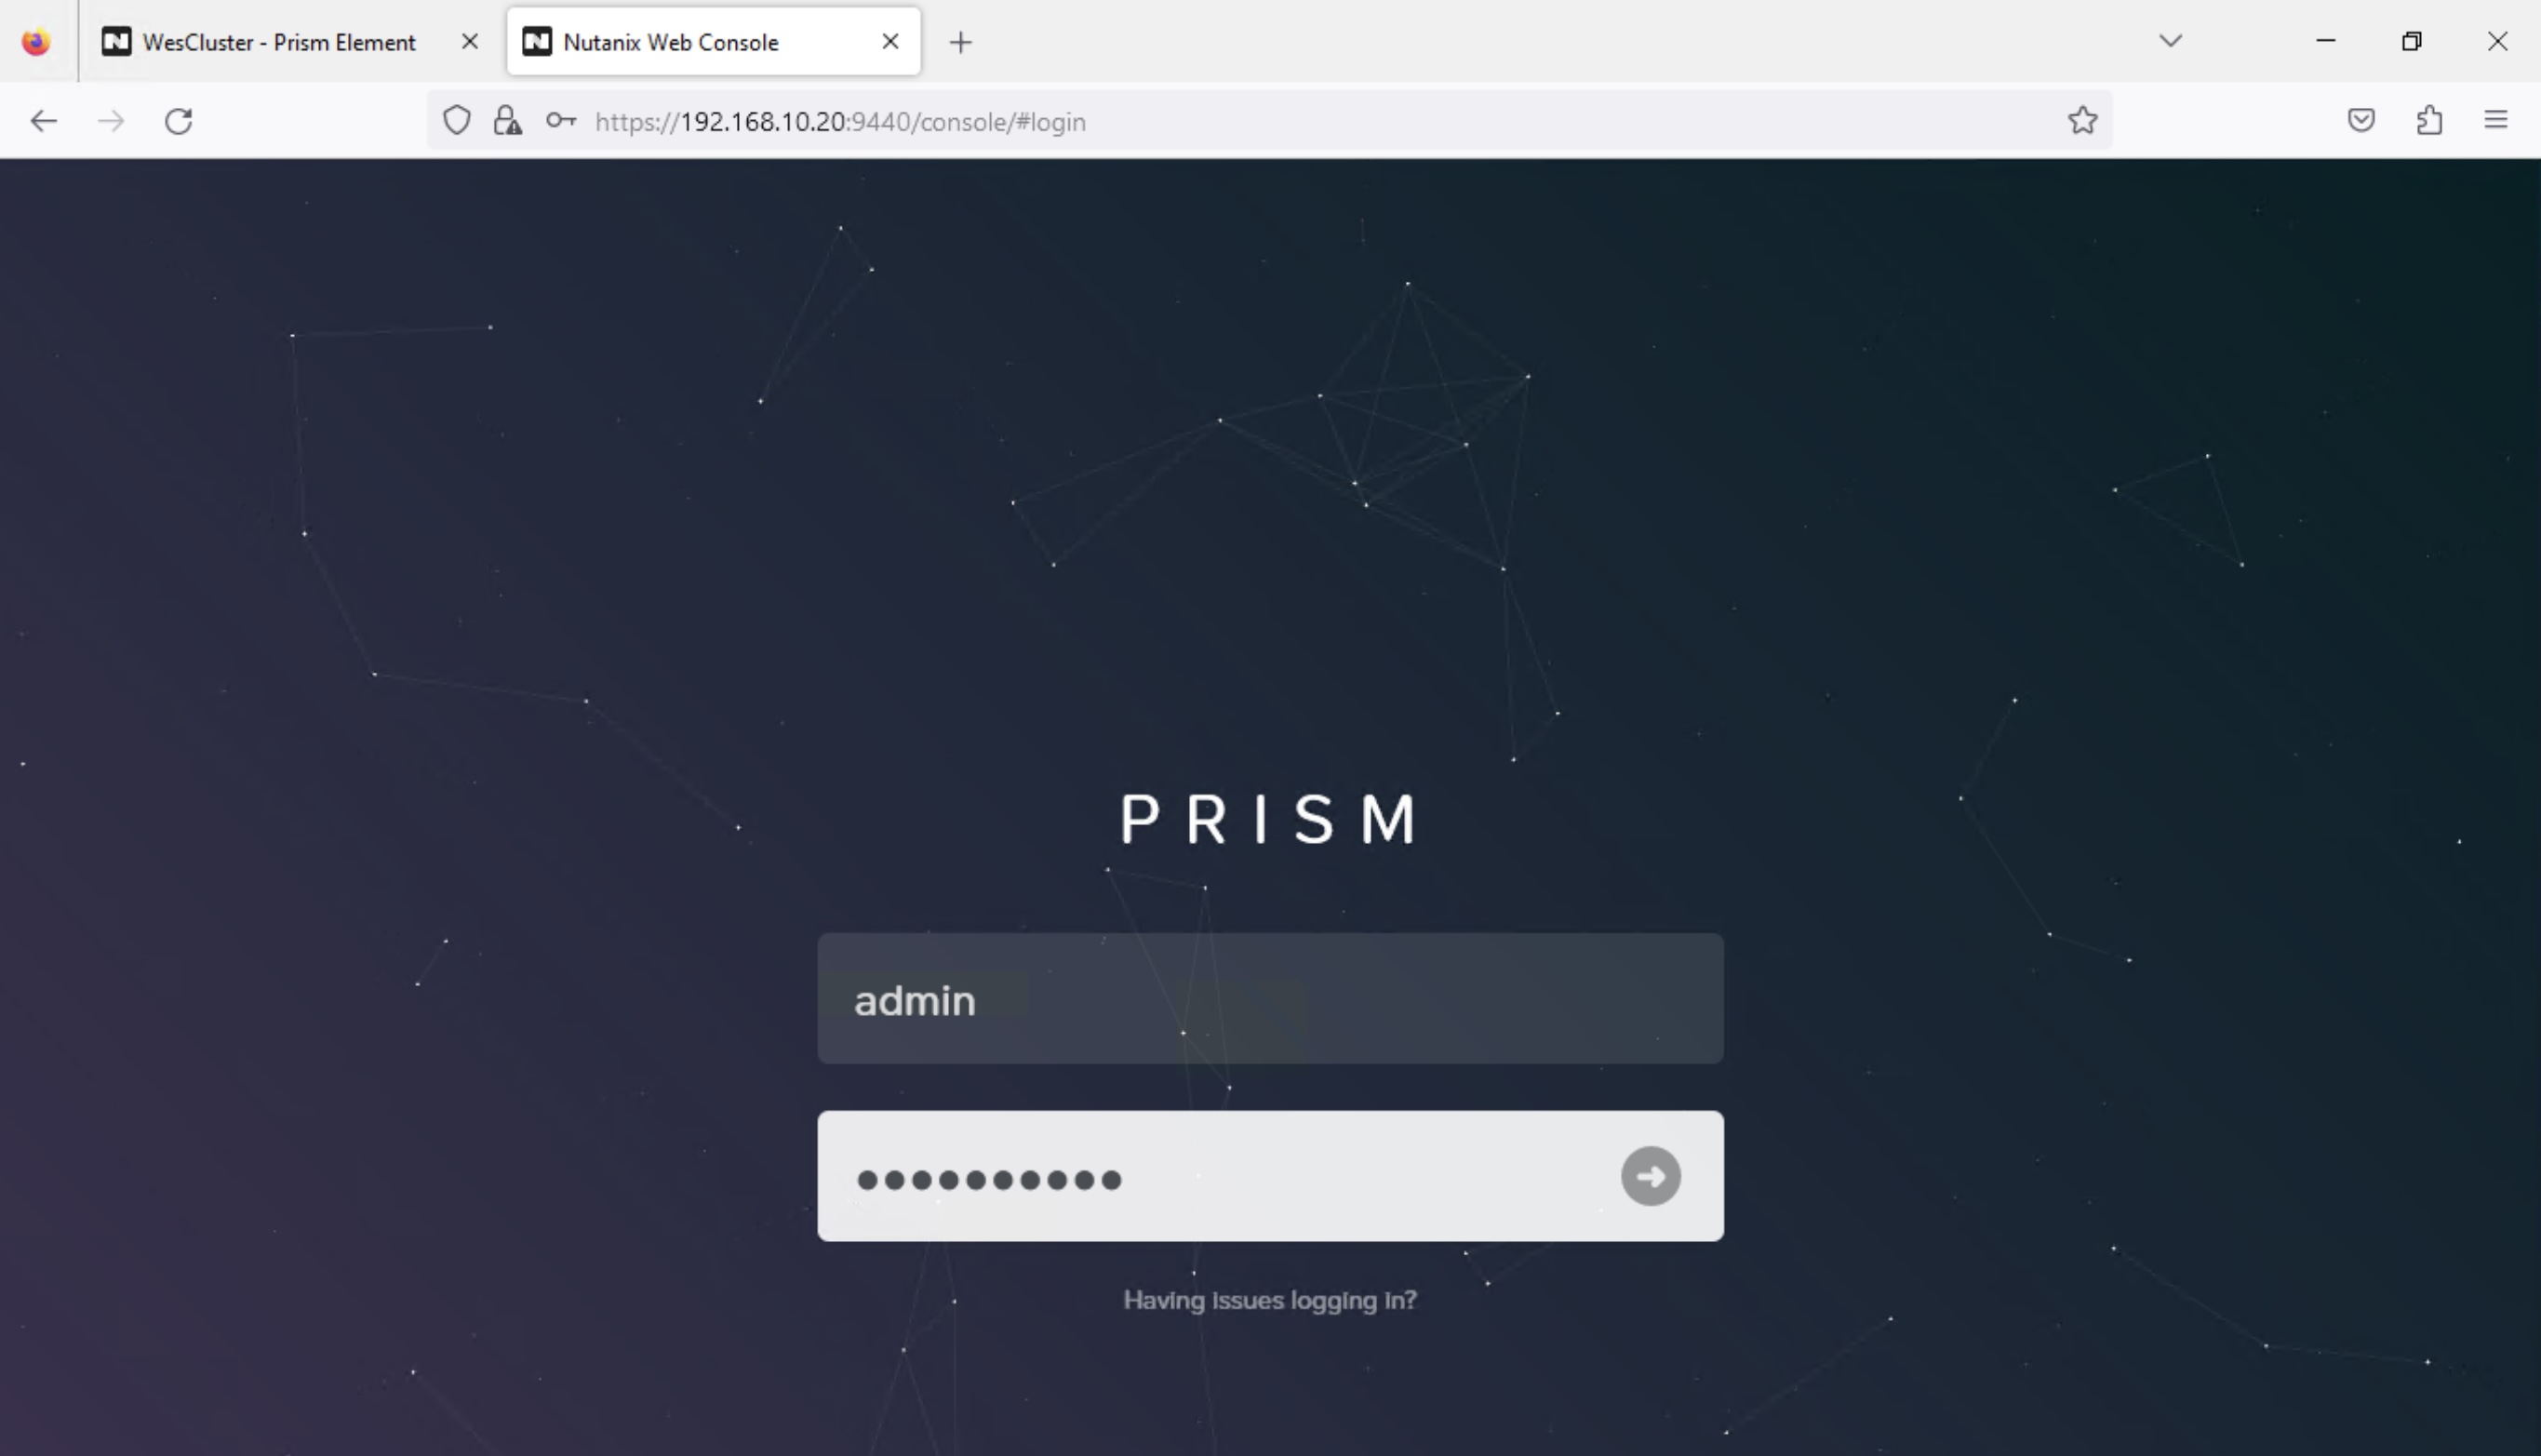
Step 1: Launch our browser and point to Prism Central page —> https://192.168.10.20:9440 and login with the default username “admin” and password “Nutanix/4u”
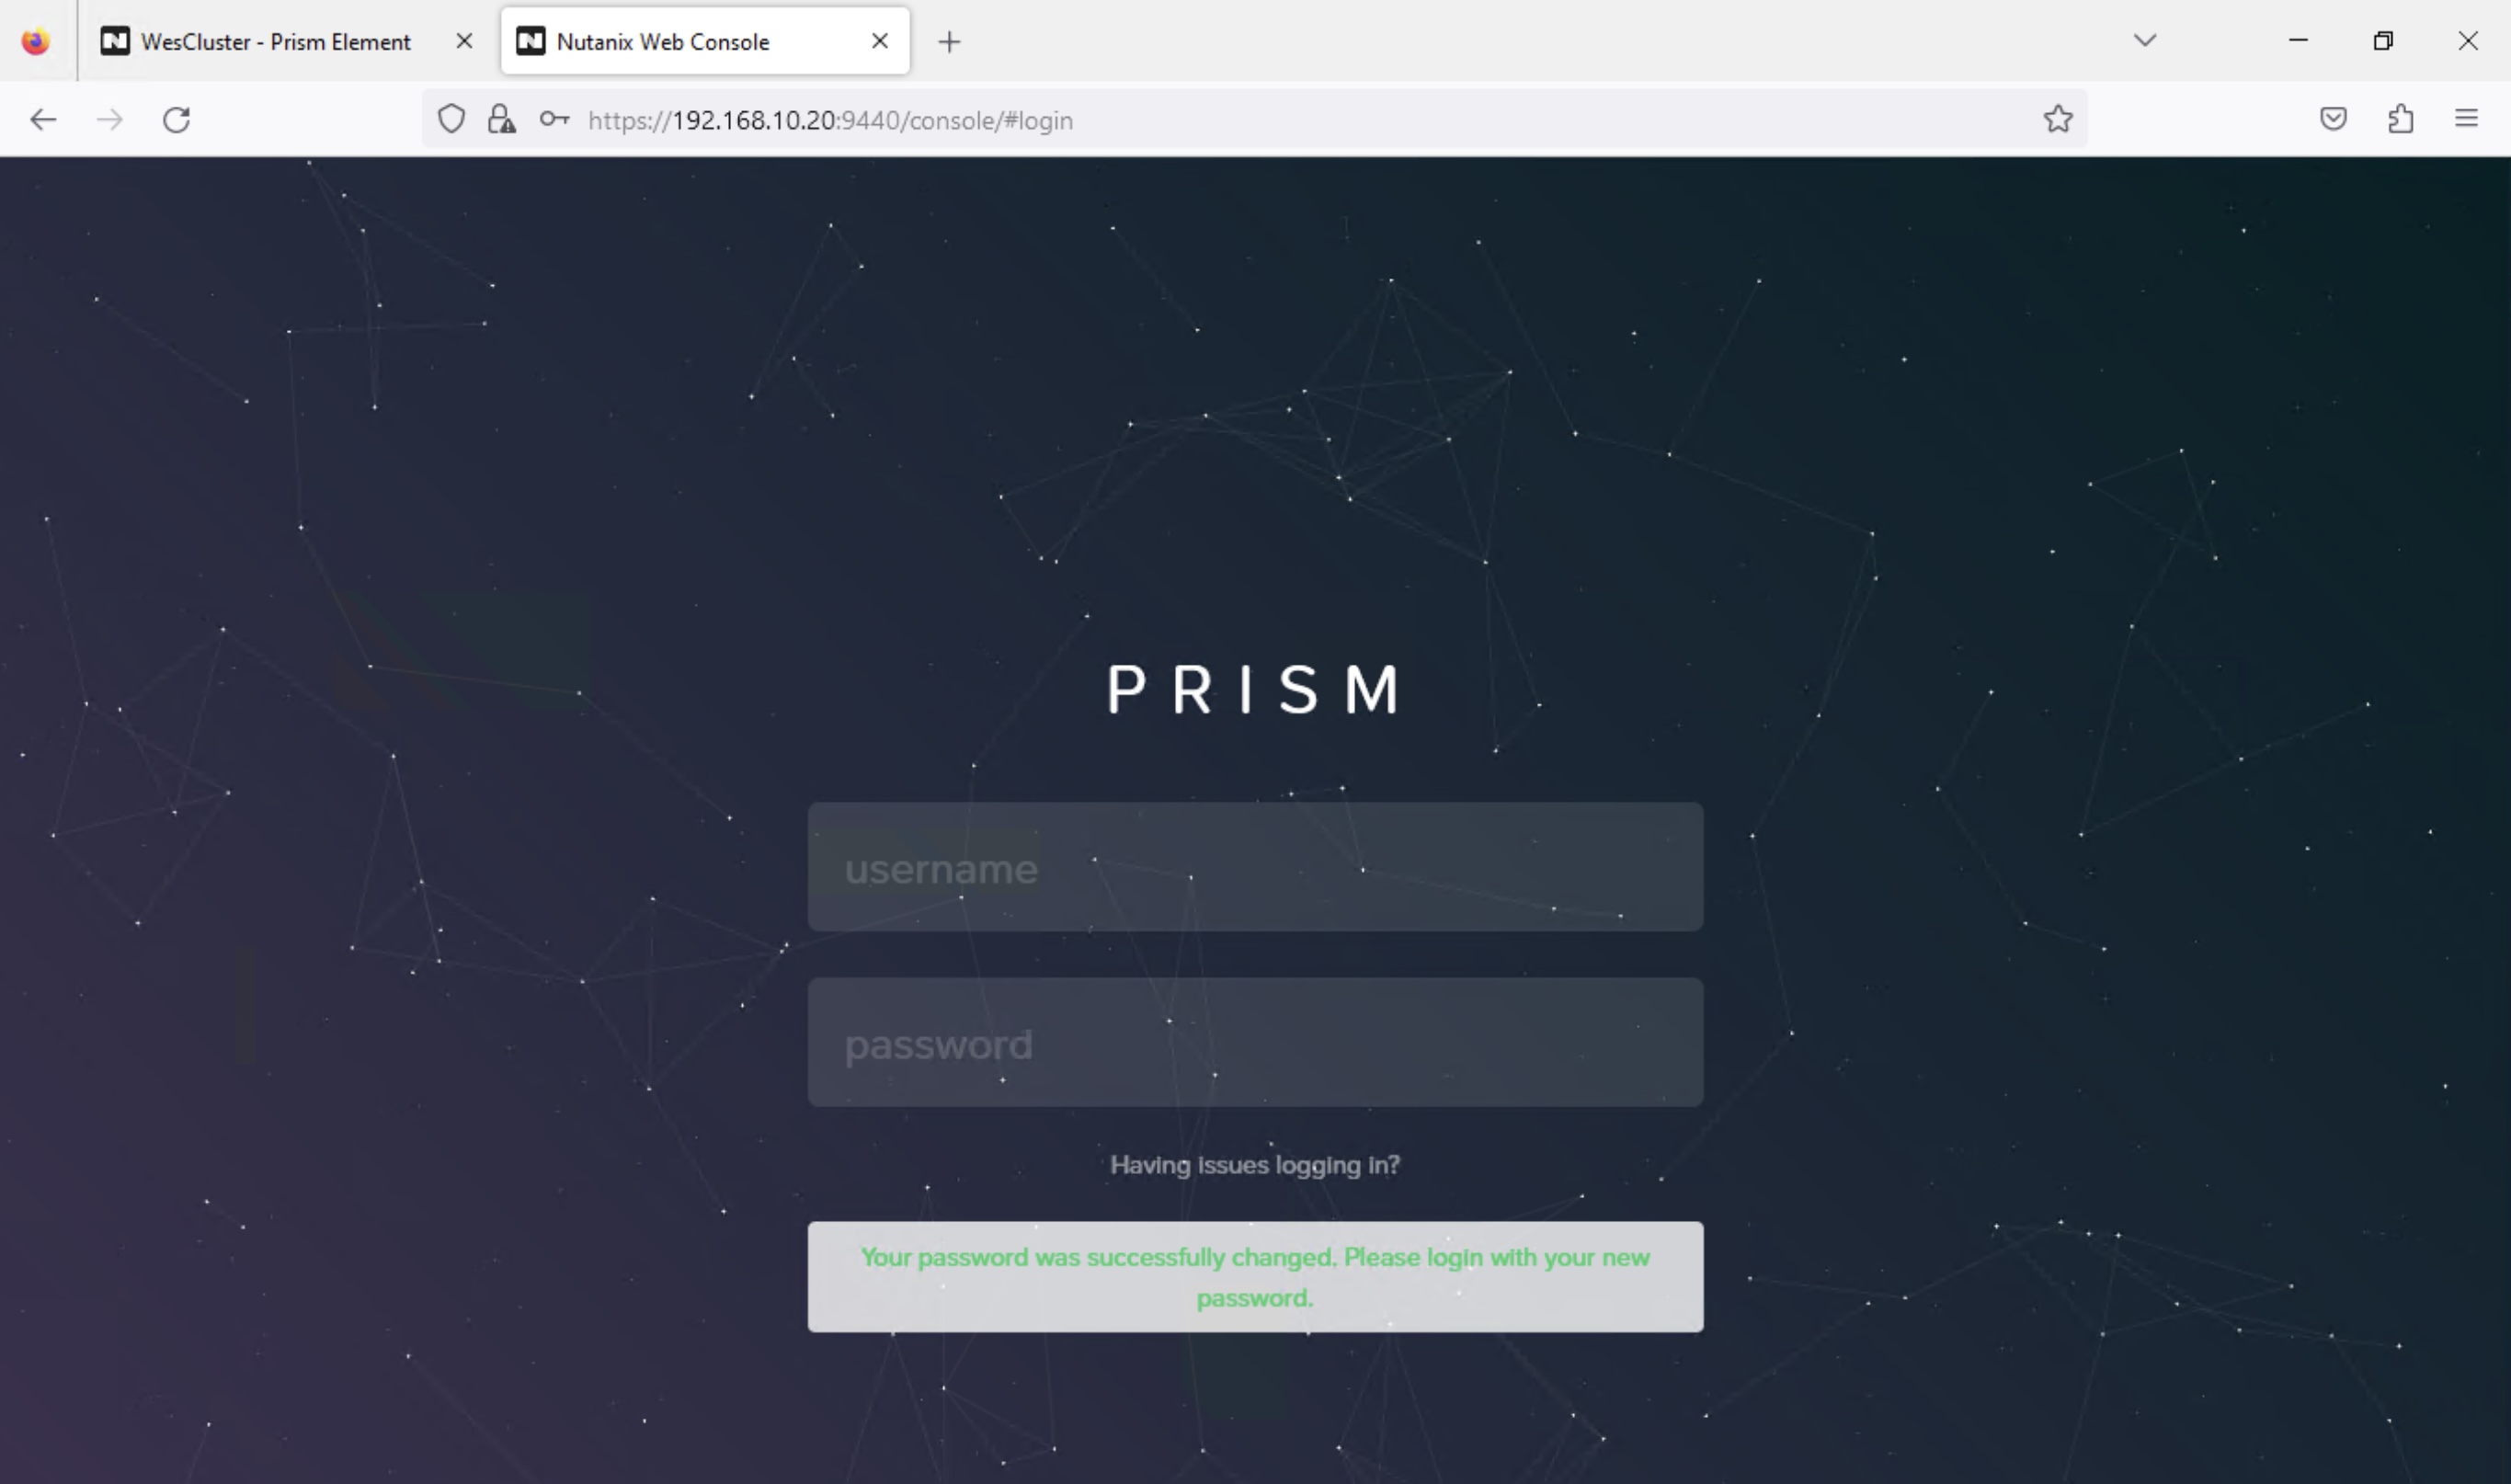
Step 2: You will be prompted to change to a password of your choice

Step 3: Login with your newly created password
Step 4: Enter the registration information and click “Accept”

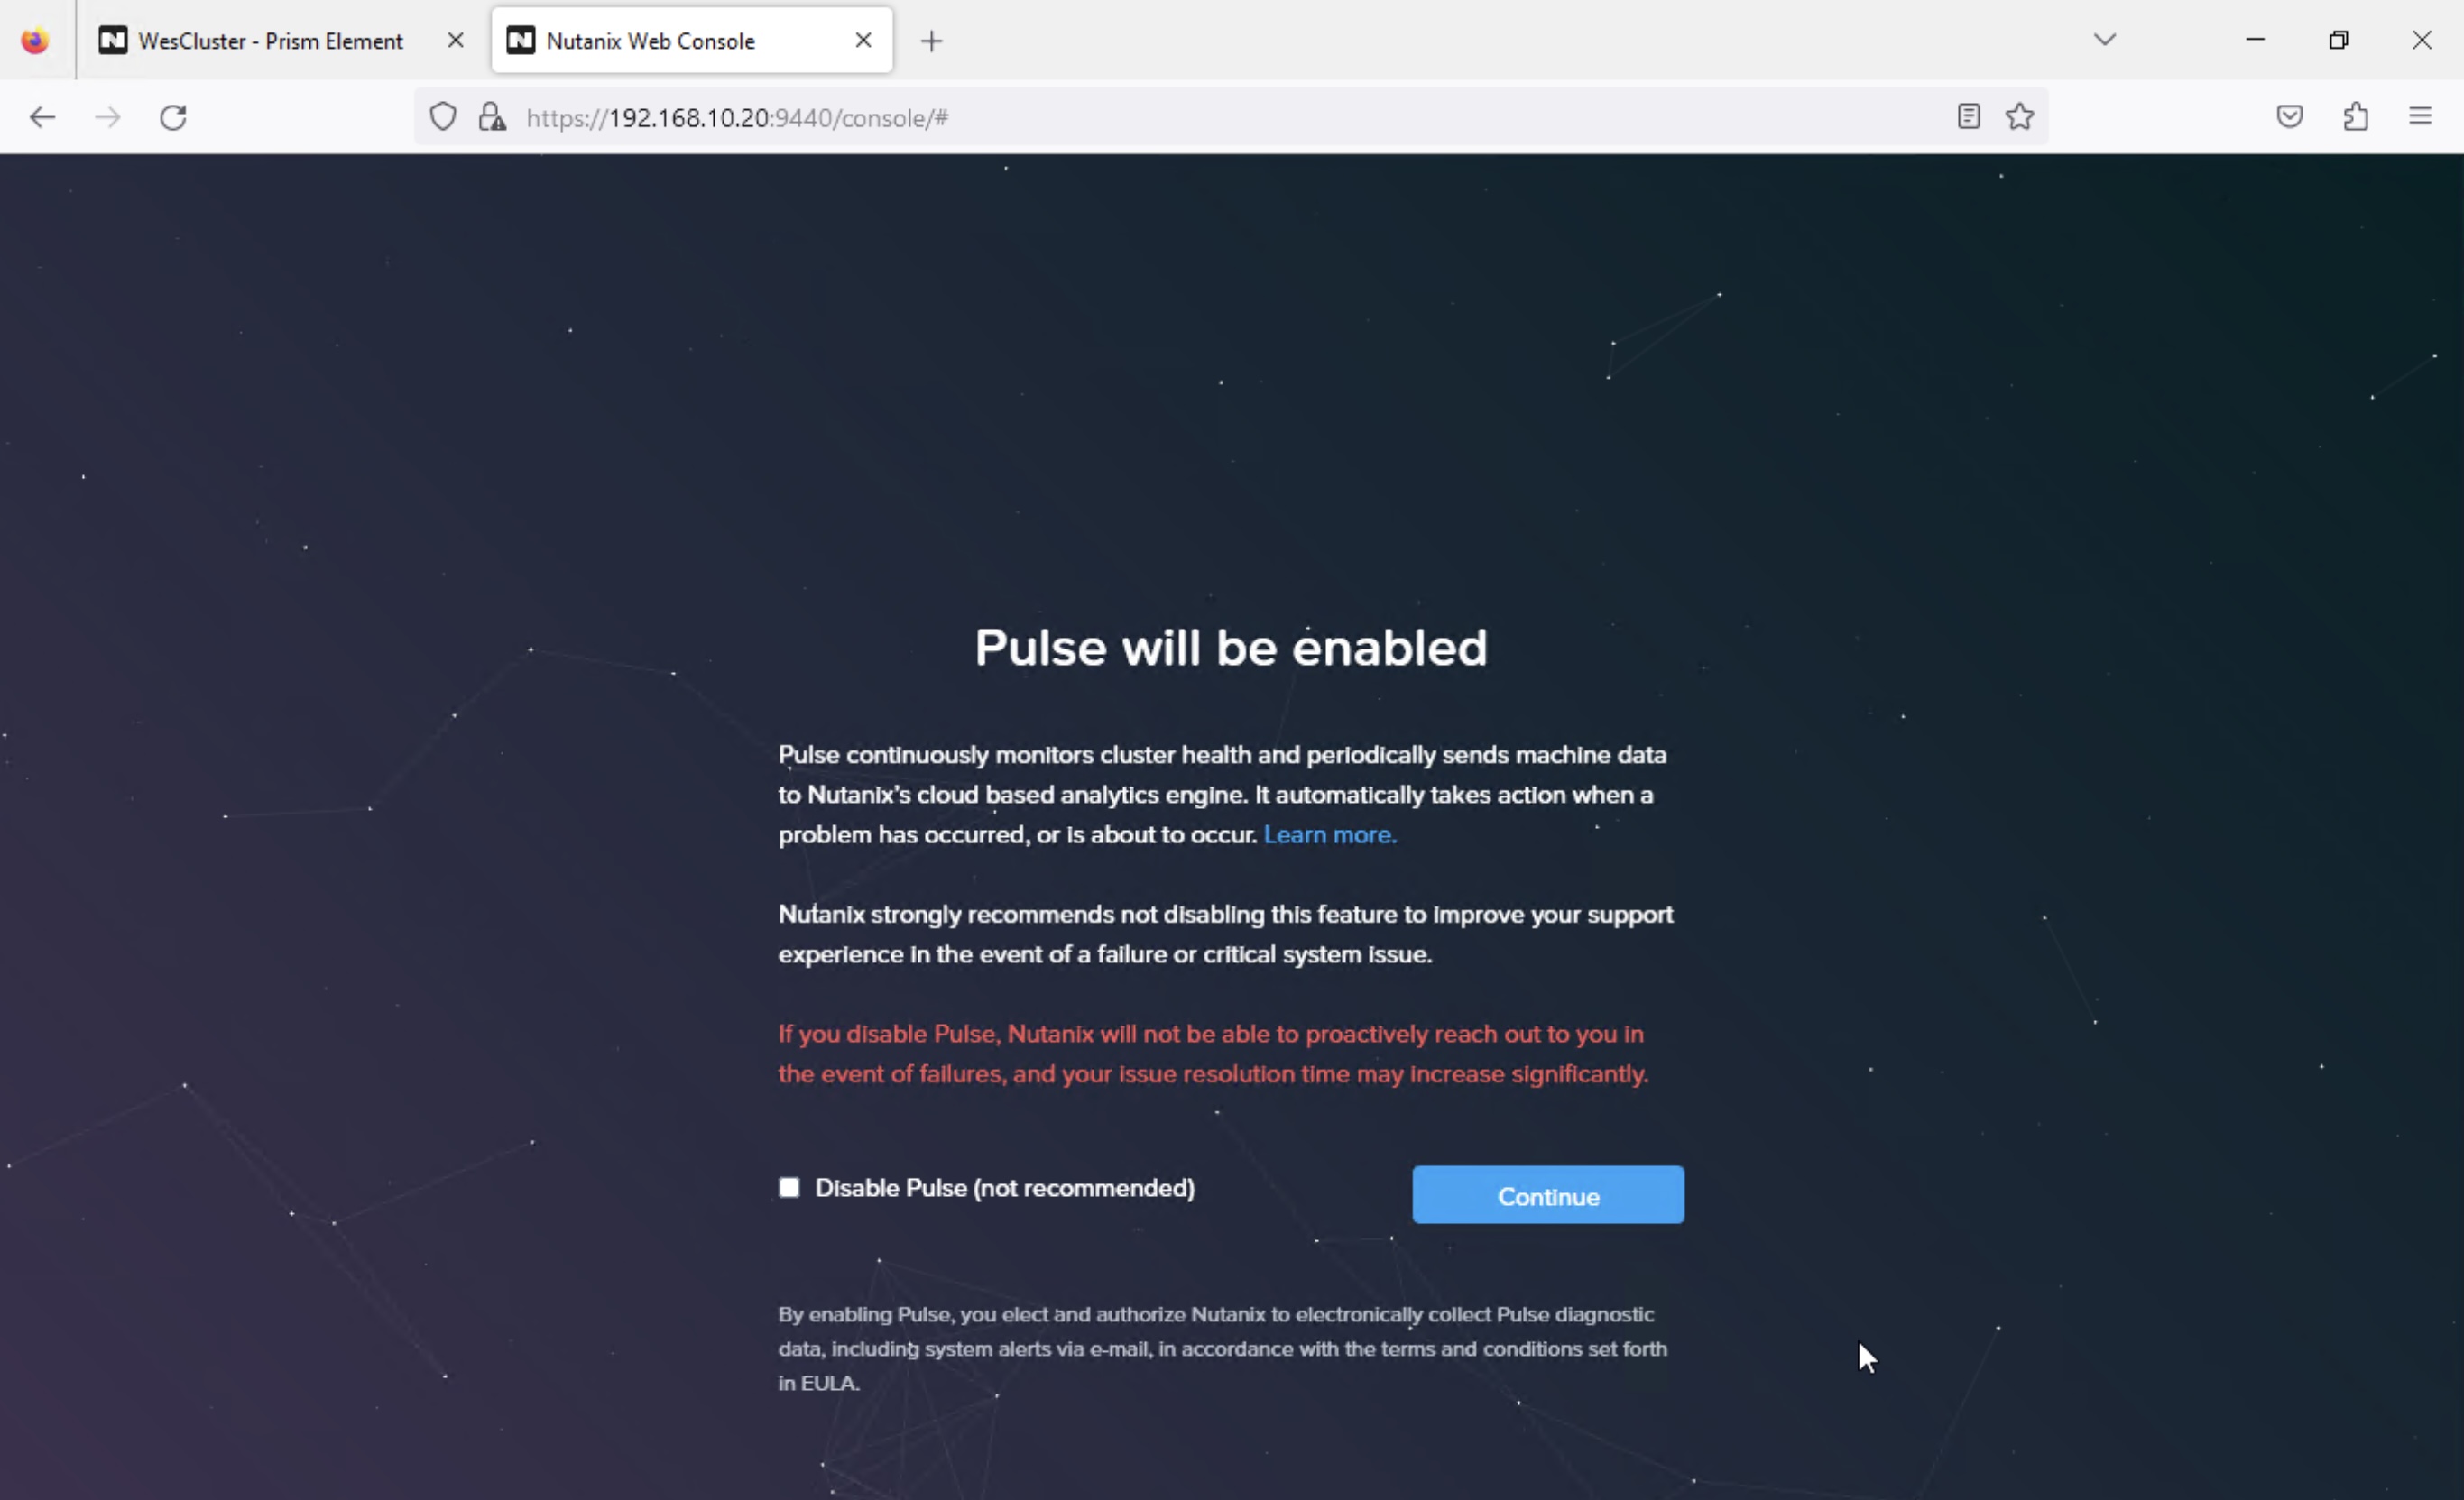
Step 5: Accept the defaults to enable “Pulse” and click “Continue”
Step 6: Once the initialisation is completed, you will see the Prism Central portal and now you are ready to connect Prism Element to this Prism Central

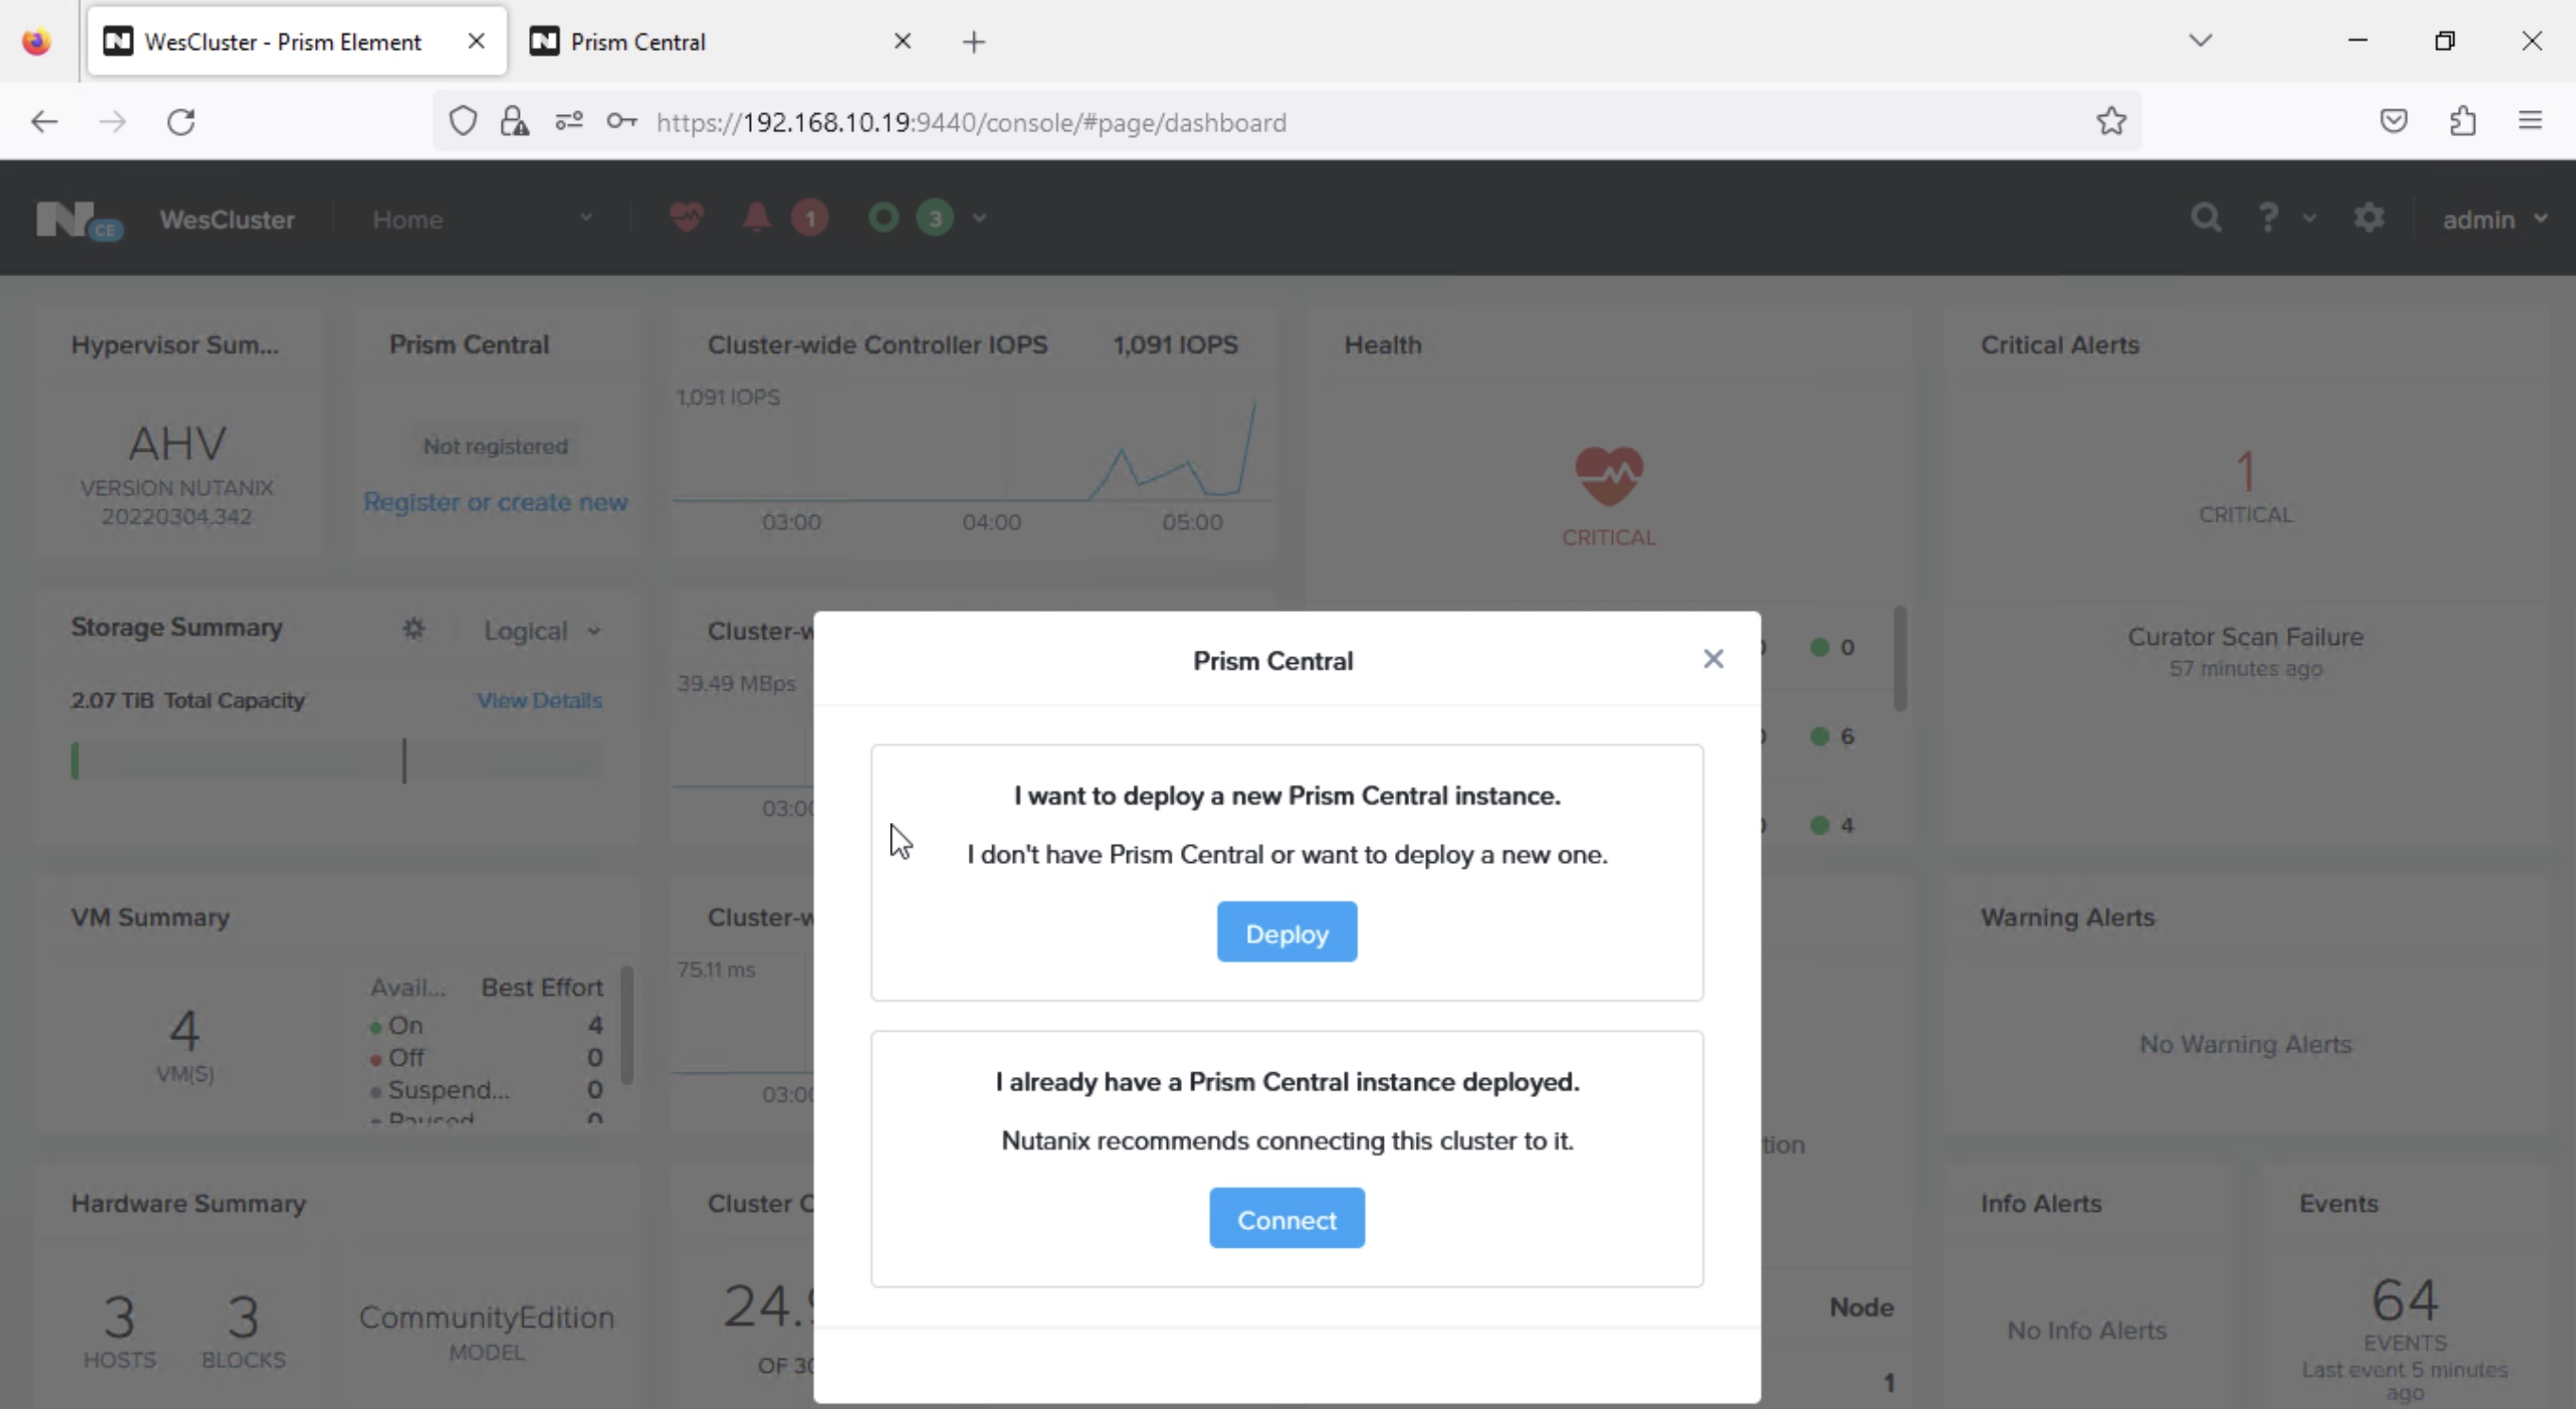
Step 7: Launch our browser and point to Prism Element page —> https://192.168.10.19:9440, login and click on the “Register or create new” option in the Prism Central tile. After that choose “Connect” under the option of “I already have a Prism Central instance deployed”
Step 8: At this connect info screen, click “Next”

Step 9: Enter the required Prism Central information

Step 10: Prism Element will show the registered once its connected successfully to Prism Central

In the subsequent blog series, I will share on enabling cloud features and capabilities on the Prism Central.

You must be logged in to post a comment.