
Welcome to this blog series on where try out the Nutanix VPC capability to provide multi tenancy construct in a private cloud. Nutanix Flow Networking provides native virtual private cloud (VPC) construct for workload hosted on Nutanix AHV clusters. The pre-requisite to Nutanix Flow Networking is the enablement of Nutanix MSP and this is done in the previous blogpost.
In this post, I will share on the steps to enable Nutanix VPC capabilities and the customisation required for it to be enabled in CE 2.0
Step 1: Customise Prism Central settings to allow “Advanced Networking” feature to be enabled on small size Prism Central. SSH into PC 192.168.10.20 and configure the following
echo ‘—-genesis_gflags_whitelist_enforcement_enabled=false’ >> ~/config/genesis.gflagsStep 2: Restart genesis service
genesis restartStep 3: Stop atlas service and restart cluster
genesis stop atlas && cluster startStep 4: Perform a curl on whitelist flags and you should see the following

Step 5: Perform a curl on PC size and you should see the following

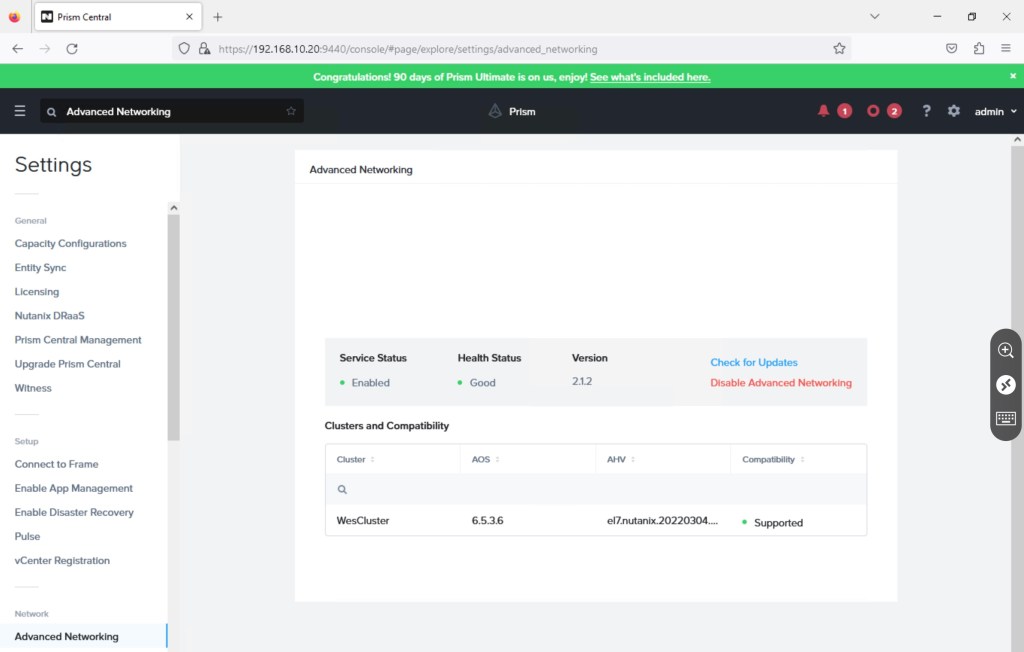
Step 6: At Prism Central, go to “Settings” > “Network” > “Advanced Networking” and select “Enable”

Step 7: You will see the following screenshot when “Advanced Networking” feature enablement is in progress.

Step 8: You will see the following screenshot when the feature enablement is completed.
We are now ready to deploy and test the multi-tenant capability of Nutanix VPC. In the next blog post, I will share on how can validate the capabilities of Nutanix VPC.

You must be logged in to post a comment.