
In this blog post, I will share on how to install Nutanix CE 2.0 into the Asus PN64-E1. We are going to build a 3 node Nutanix cluster and we will need to install Nutanix CE 2.0 manually into each and every node. We will need the following
- Asus PN64-E1
- Nutanix Installer
- Network Cable
We will need to configure the following IP addresses
| Node | Host IP | CVM IP | Subnet Mask | Gateway |
|---|---|---|---|---|
| Node 1 | 192.168.10.1 | 192.168.10.11 | 255.255.255.0 | 192.168.10.254 |
| Node 2 | 192.168.10.2 | 192.168.10.12 | 255.255.255.0 | 192.168.10.254 |
| Node 3 | 192.168.10.3 | 192.168.10.13 | 255.255.255.0 | 192.168.10.254 |
Step 1: Connect Asus PN64-E1’s ethernet port 2 into “Port 1” of the TP-Link ethernet switch.
Step 2: Connect the “Nutanix Installer” USB thumb drive into the front port of the Asus PN64-E1 and power on the mini PC.
Step 3: Press “F8” and boot into the USB thumb drive
Step 4: Once the installer is fully loaded, you should see the screen below
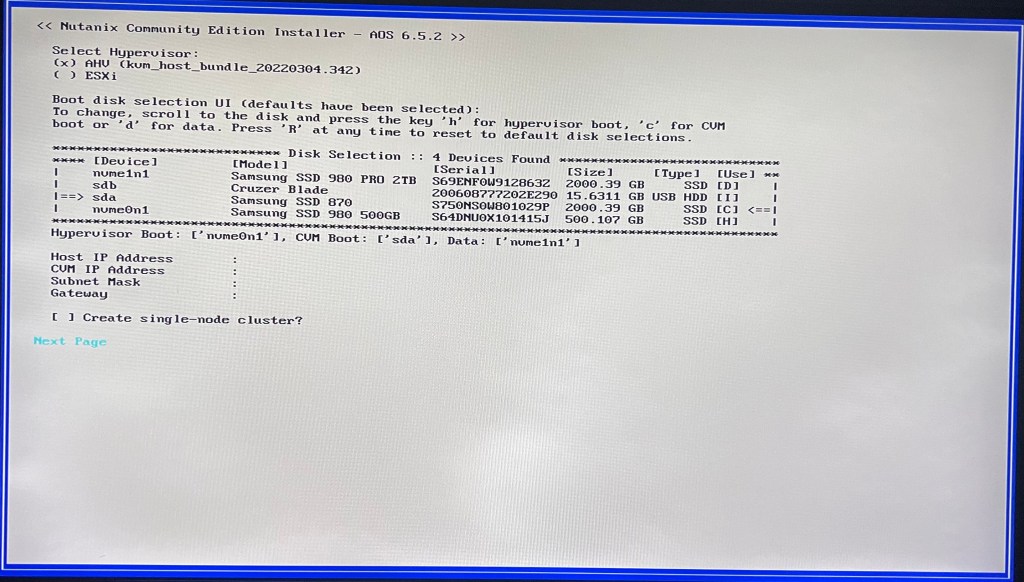
Step 5: We will choose the hypervisor as AHV and assign the following hard drive accordingly
- Hypervisor Boot —> 500GB SSD
- CVM Boot —> 2TB SSD
- Data —> 2TB NVME
Step 6: Let’s enter the IP address for the 1st Nutanix node as stipulated in the “Nutanix IP Address List” table above, ensure the “Create single-node cluster” option is not selected and click “Next Page”.

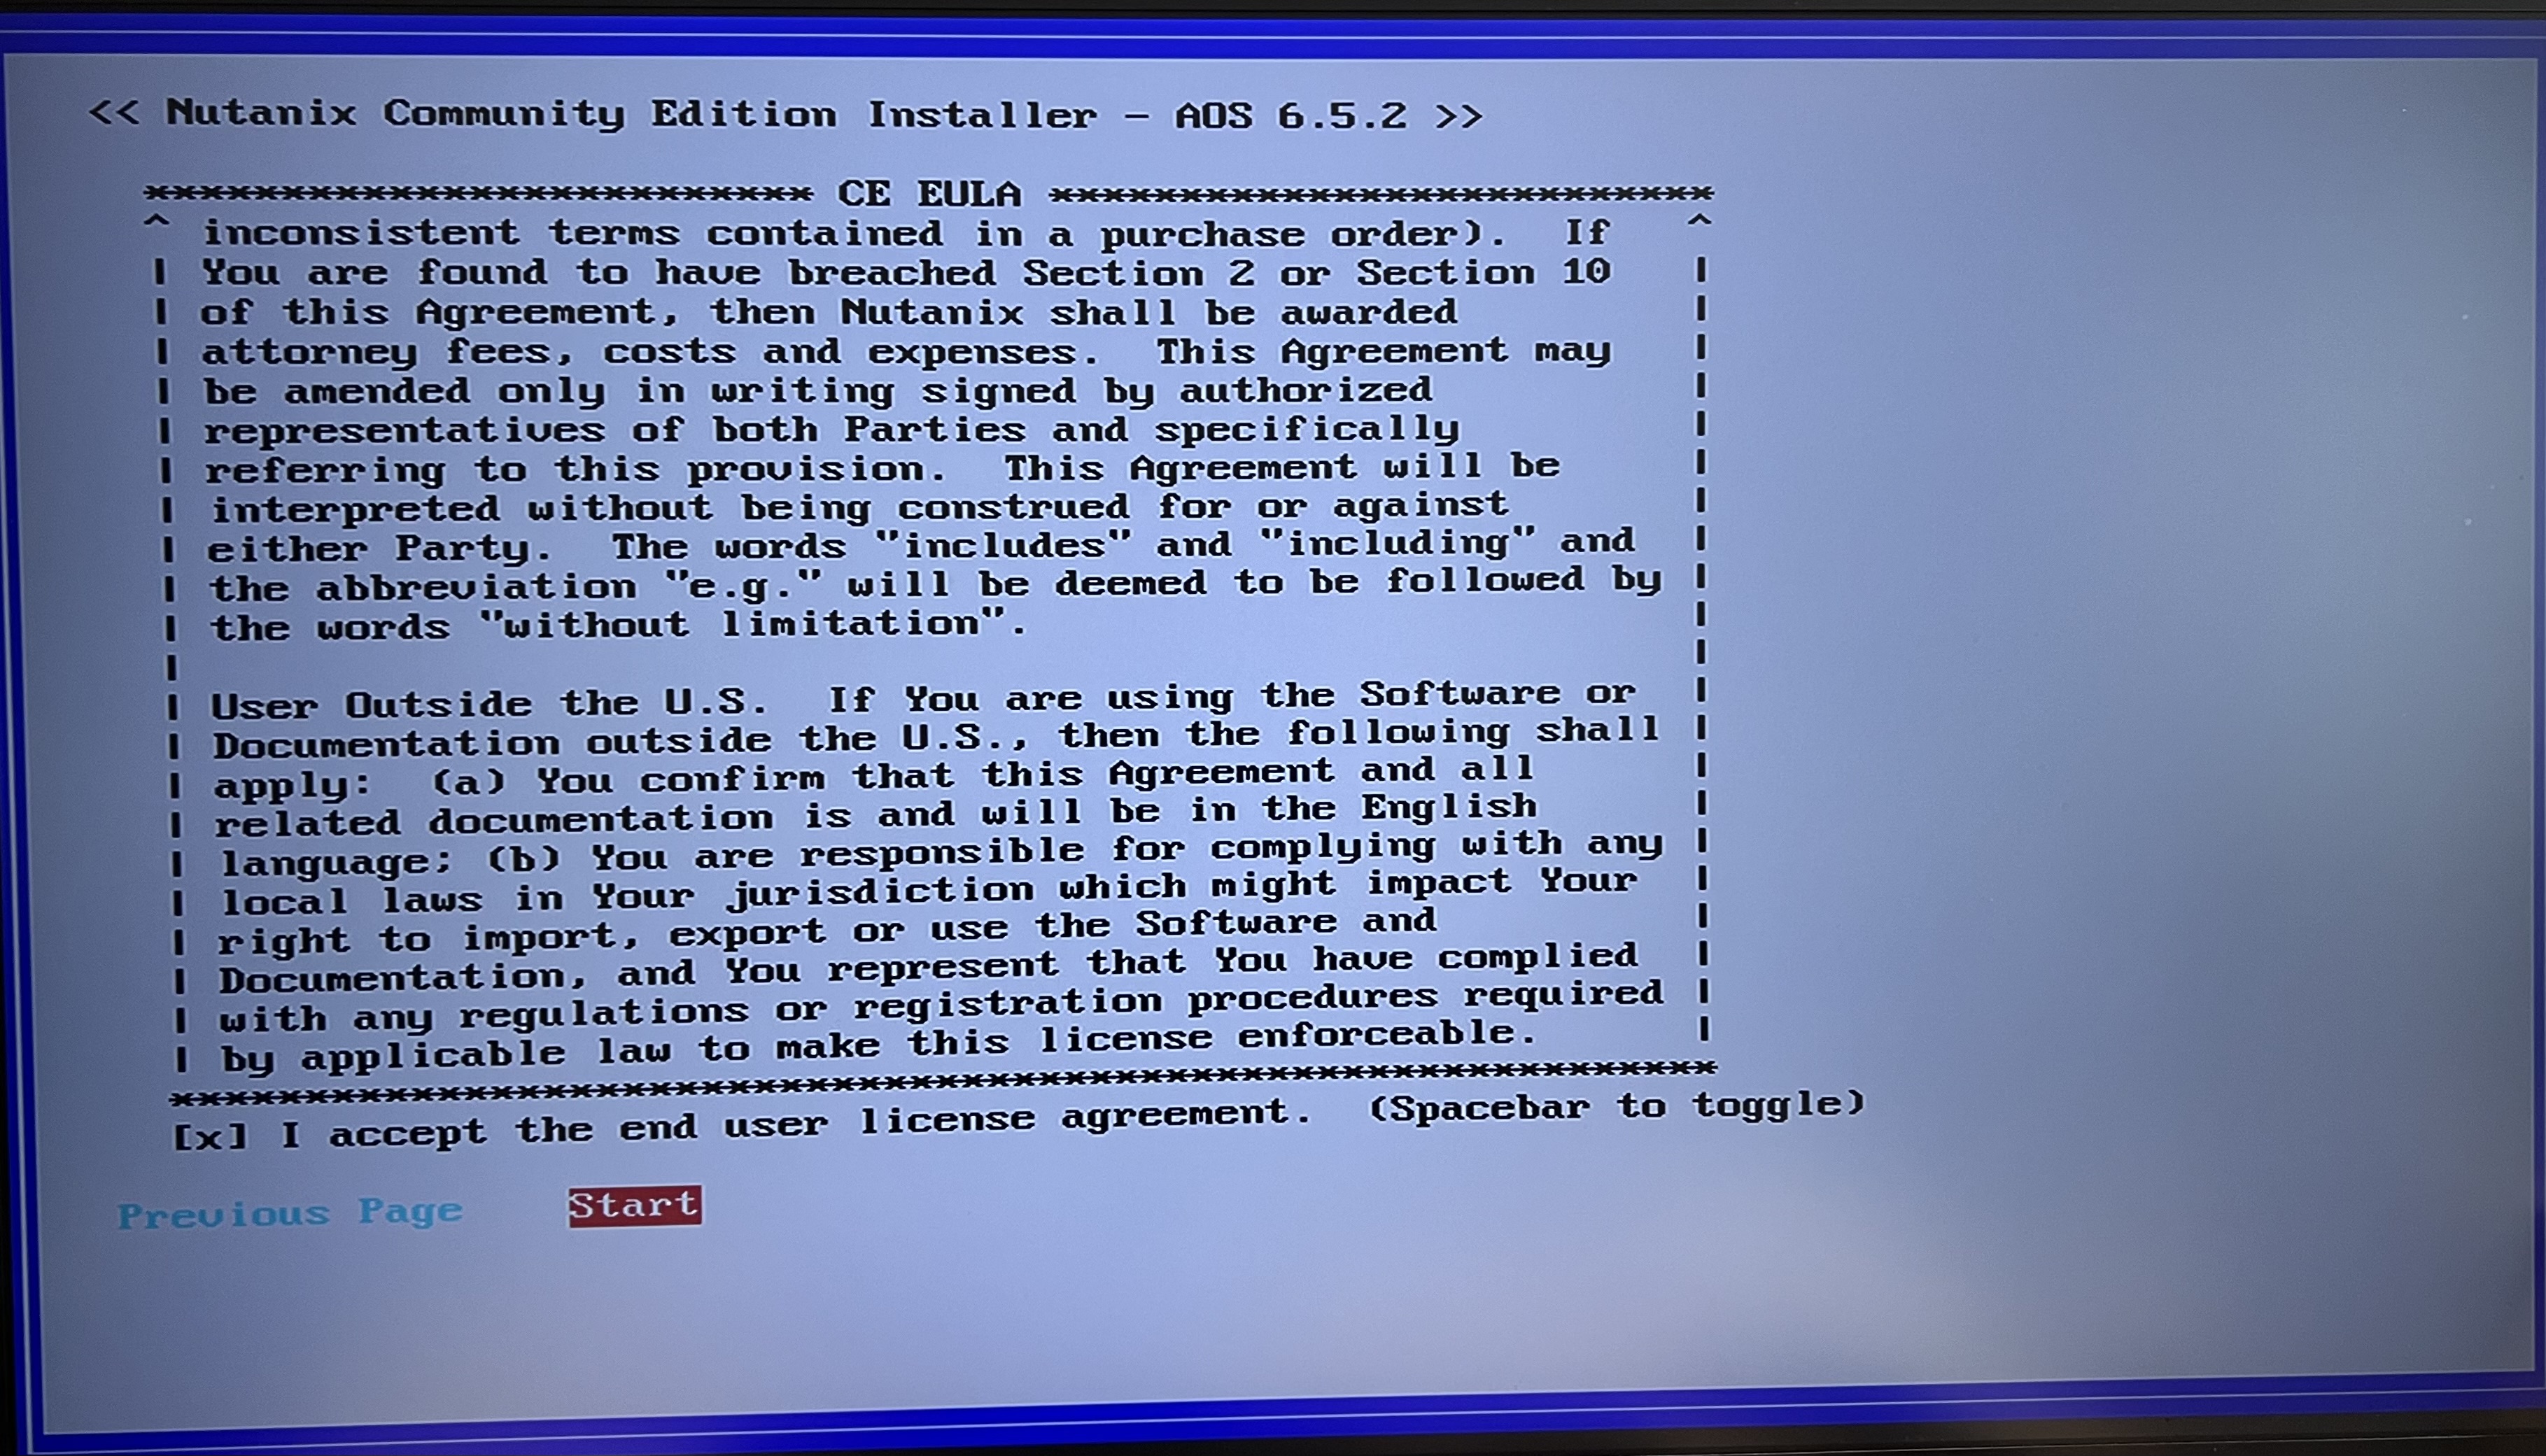
Step 7: Scroll down the EULA before selecting “I accept the end user license agreement”. After that, tab to “Start”
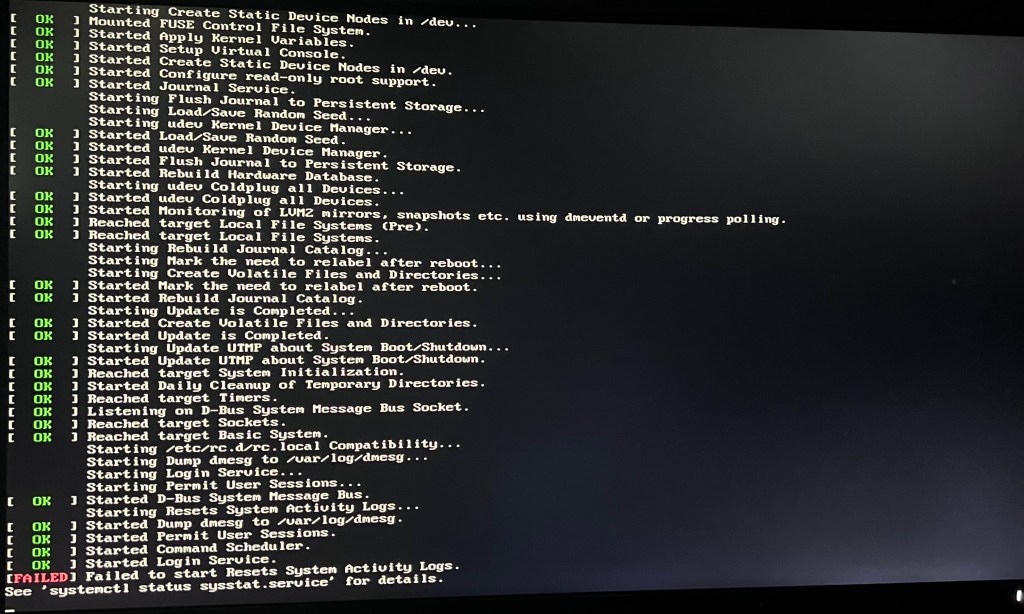
Step 8: The installation will take a while and you should see the following screen when it’s installed successfully. Remember to plug out the thumb drive before keying “Y” and hitting the “Enter” key.

Step 9: Repeat all the above 8steps for the other 2 Asus PN64-E1 except for Step 1, where
- Node 2 should plug into Port 2 of the TP-Link switch
- Node 3 should plug into Port 3 of the TP-Link switch
With all the 3 nodes installed, we are ready to proceed to the next blog post where I will share on cluster creation procedures.

You must be logged in to post a comment.