
Congratulations! You are a few steps away from creating the Nutanix cluster and accessing the Nutanix Prism Element control plane.
The following are the details required for the subsequent configuration of the cluster
| Parameters | Value |
|---|---|
| Cluster Name | WesCluster |
| Cluster IP | 192.168.10.19 |
| Host Default Username | Password | root | nutanix/4u |
| CVM Default Username | Password | nutanix | nutanix/4u |
| Prism Element Default Username | Password | admin | Nutanix/4u |
Step 1: SSH to Node 1 CVM
ssh nutanix@192.168.10.11Step 2: Do a PING test to ensure you can reach the other 2 nodes CVM
ping 192.168.10.12
ping 192.168.10.13
Step 3: Create Cluster using the command below
cluster -s 192.168.10.11,192.168.10.12,192.168.10.13 createStep 4: The cluster creation will take sometime and you should see something like this below
Step 5: We will need to do a cluster start when the creation is completed
cluster startStep 6: You should see the following screen when the cluster is started successfully
Step 7: Configure the cluster name
ncli cluster edit-params new-name=WesClusterStep 8: Configure the cluster IP
ncli cluster set-external-ip-address external-ip-address="192.168.10.19" Step 9: Let’s launch our Firefox browser and key in the following URL
https://192.168.10.19:9440
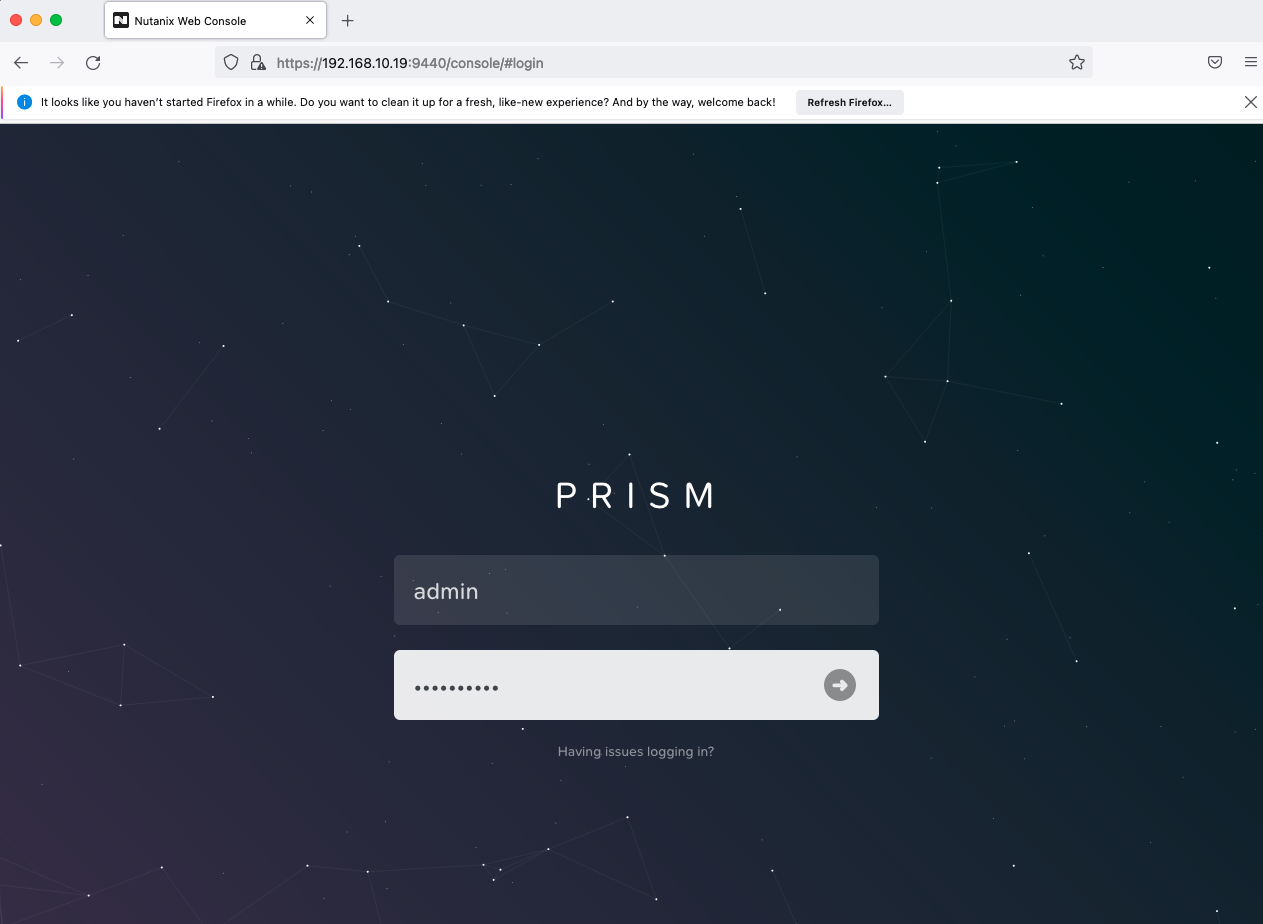
Step 10: Login with the default credentials listed in the table above
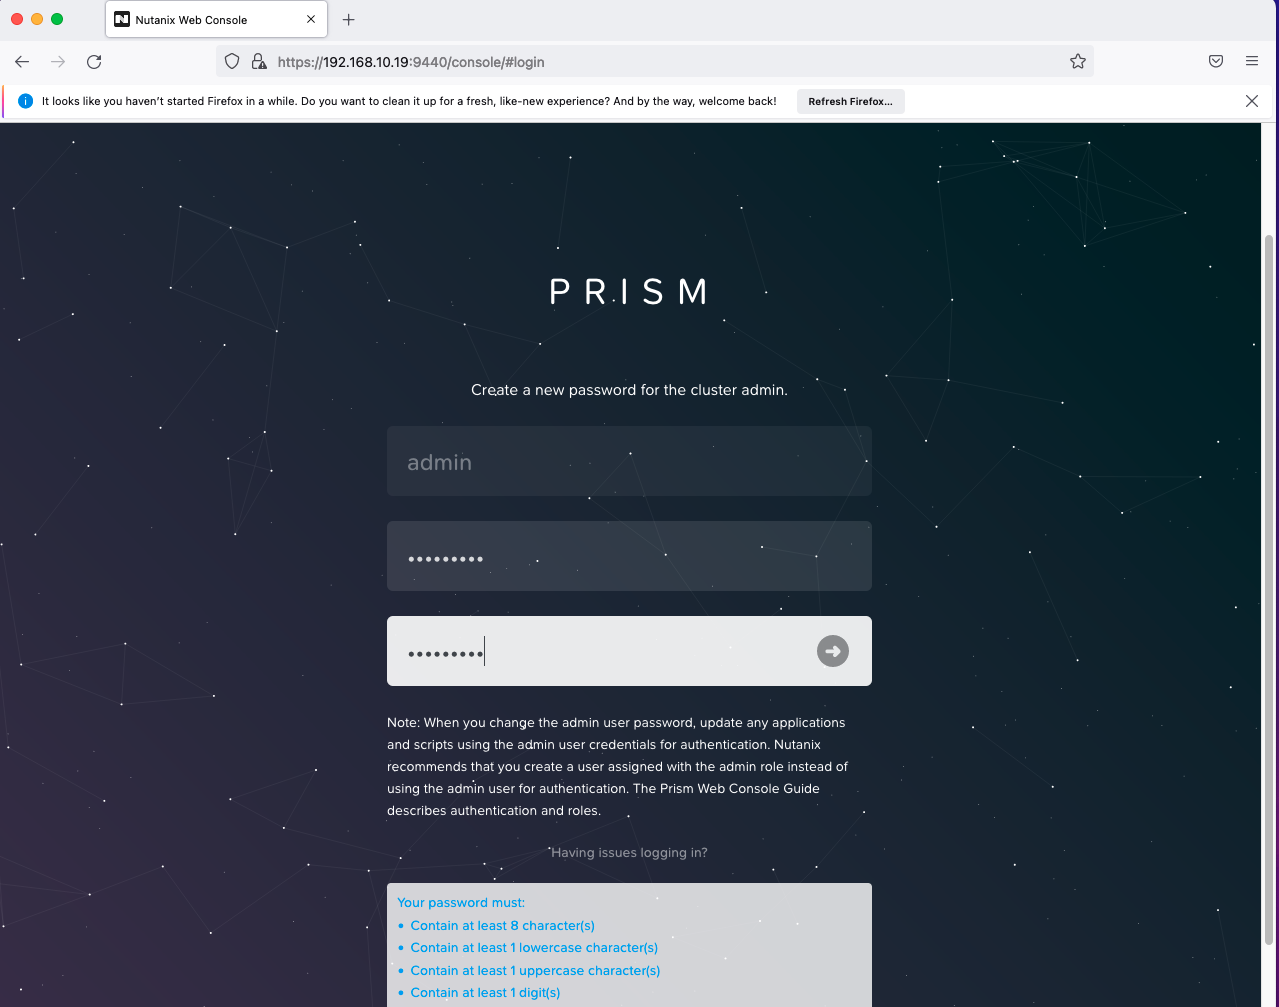
Step 11: You will be prompted to change the default password
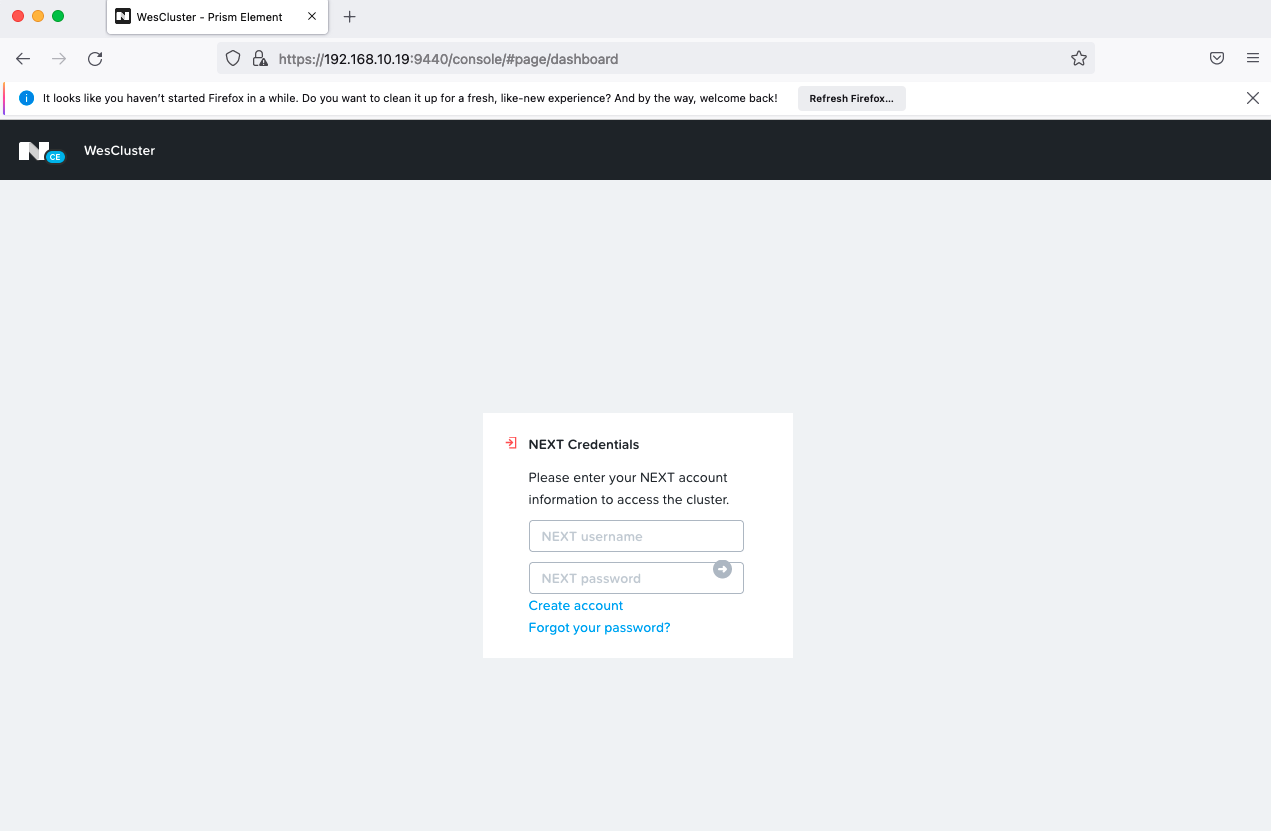
Step 12: You will be prompted to enter your Nutanix NEXT credentials. You can create an account if you don’t have and it is free of charge.
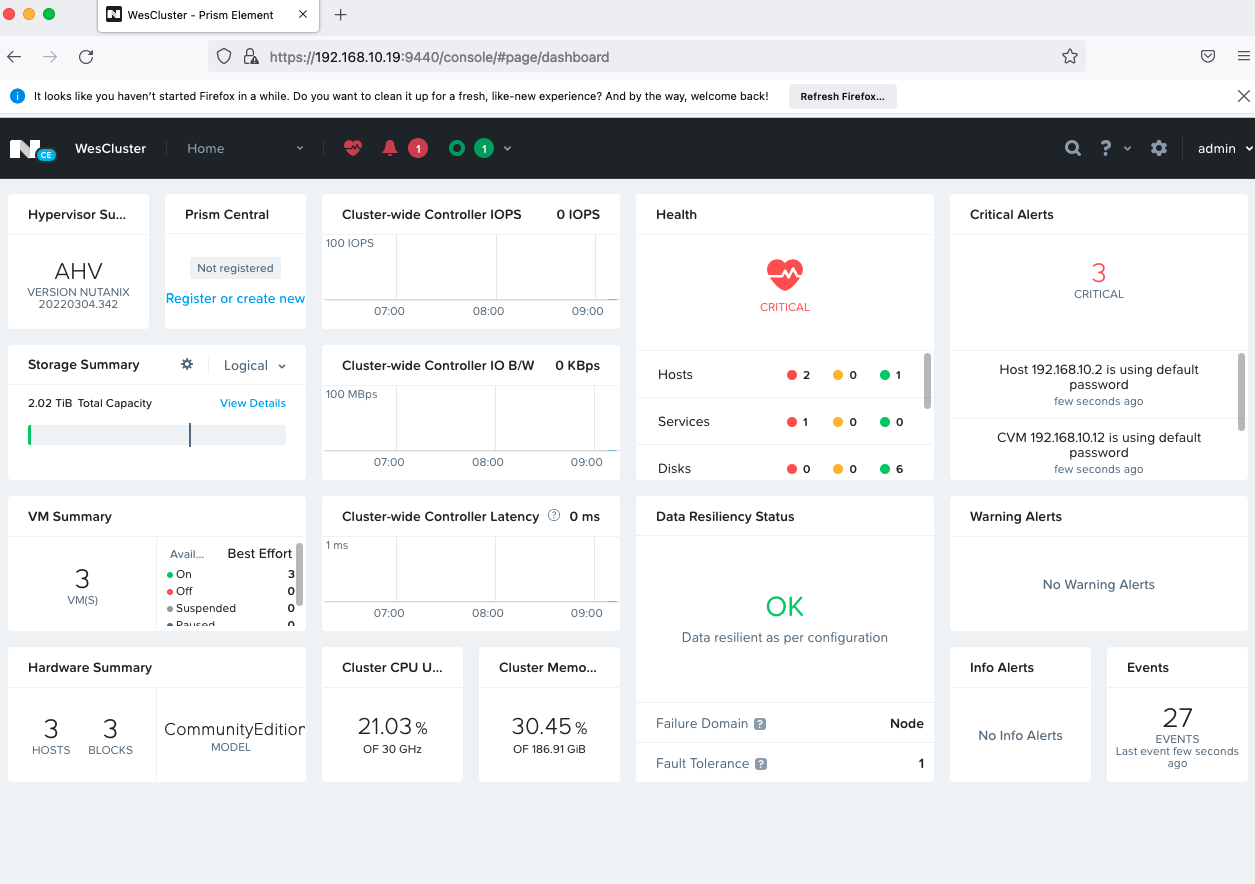
Step 13: You will see your cluster information when all is configured successfully
In the next blog post, I will share on how to reduce Nutanix controller VM size, so that we have more memory resources for our labs.

You must be logged in to post a comment.